1. Prerequisites
⓵ Get a Mac mini: 16GB memory + 512GB SSD recommended
• 16GB memory: Plenty to control the browser automatically without lag
• 512GB SSD: enough to store all conversation history and Skills (1TB is even better)
⓶ Go to the OpenClaw website and check the installation docs
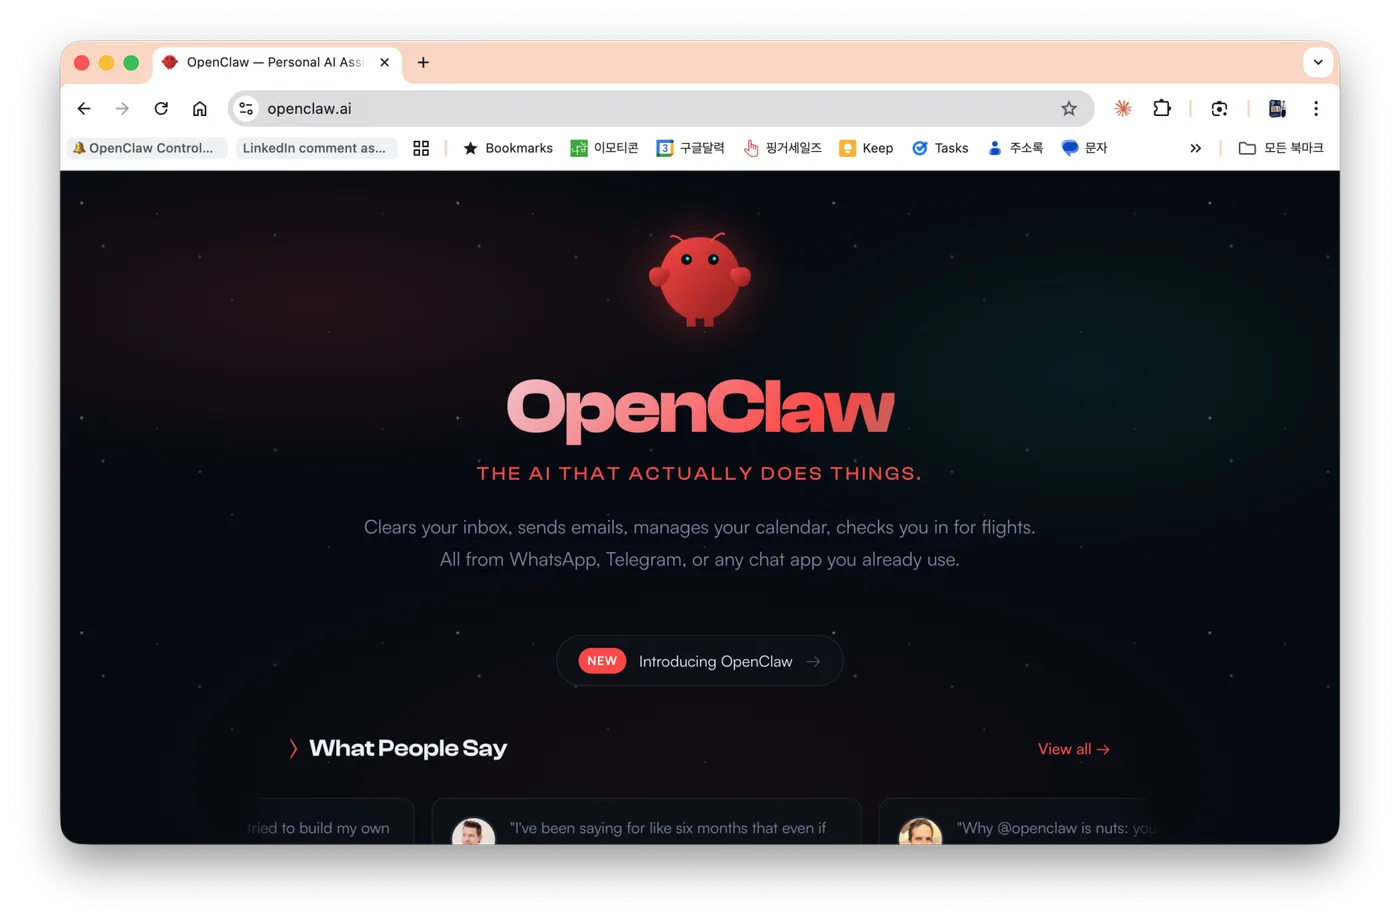
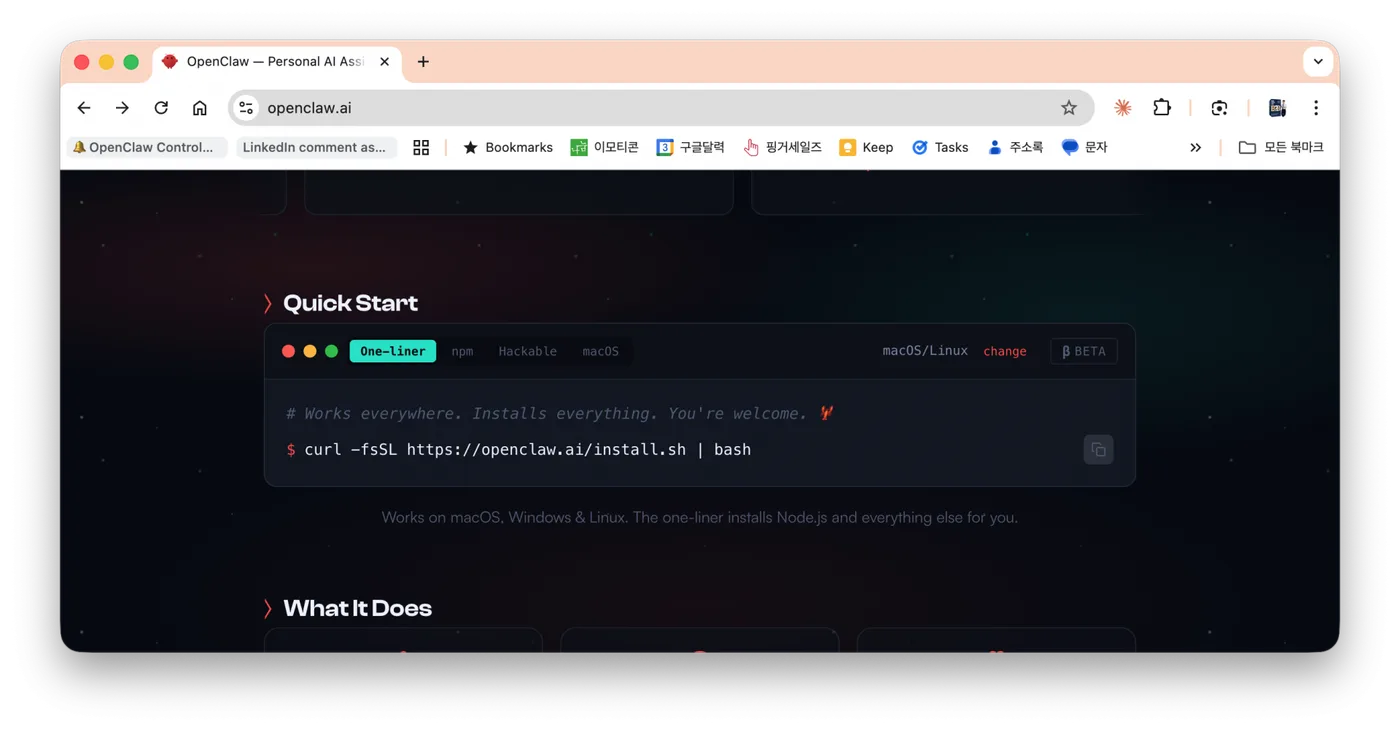
The official homepage says the single command below is all you need, but it may not work.
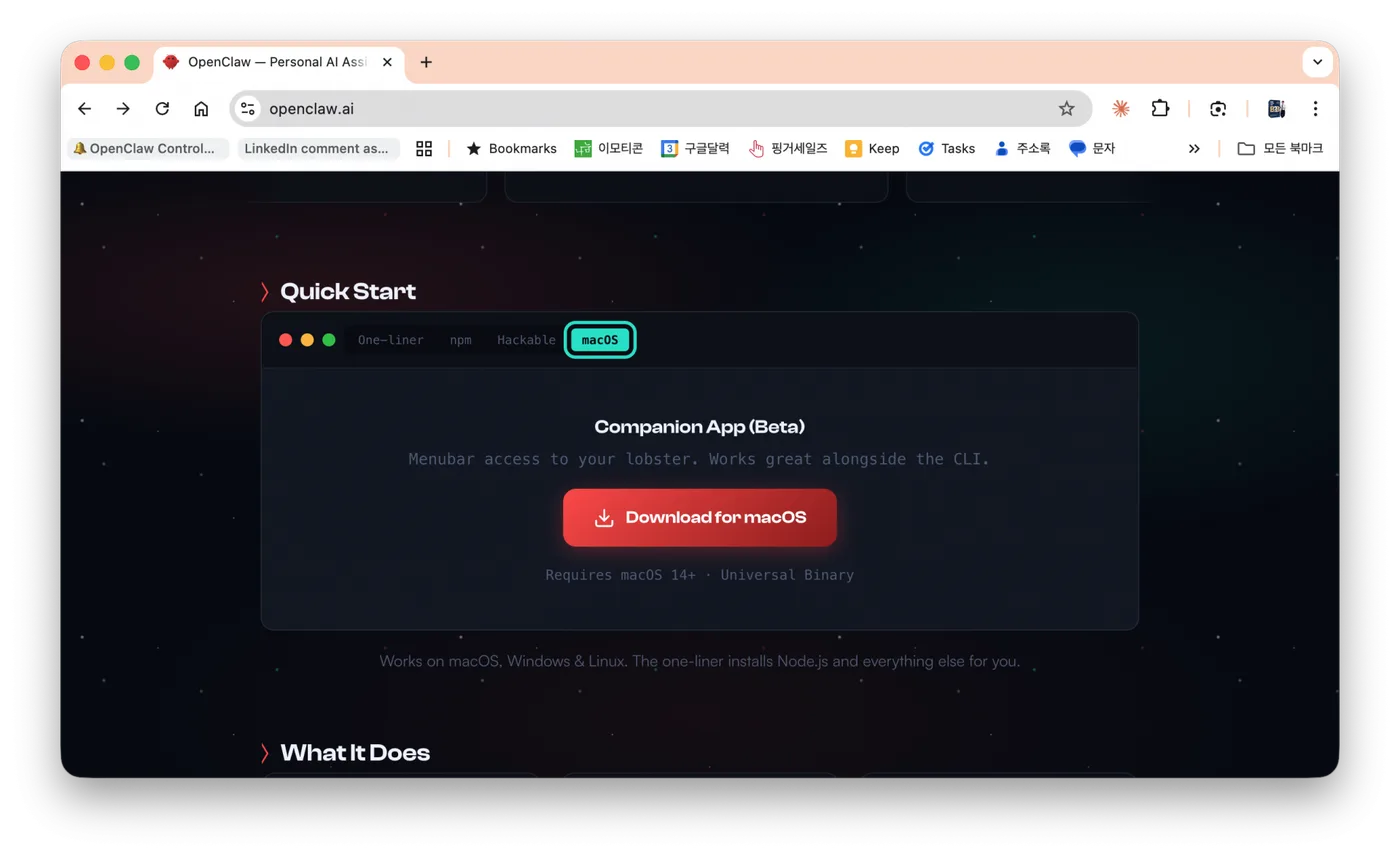
Click 'macOS' to see the macOS-specific installation menu.
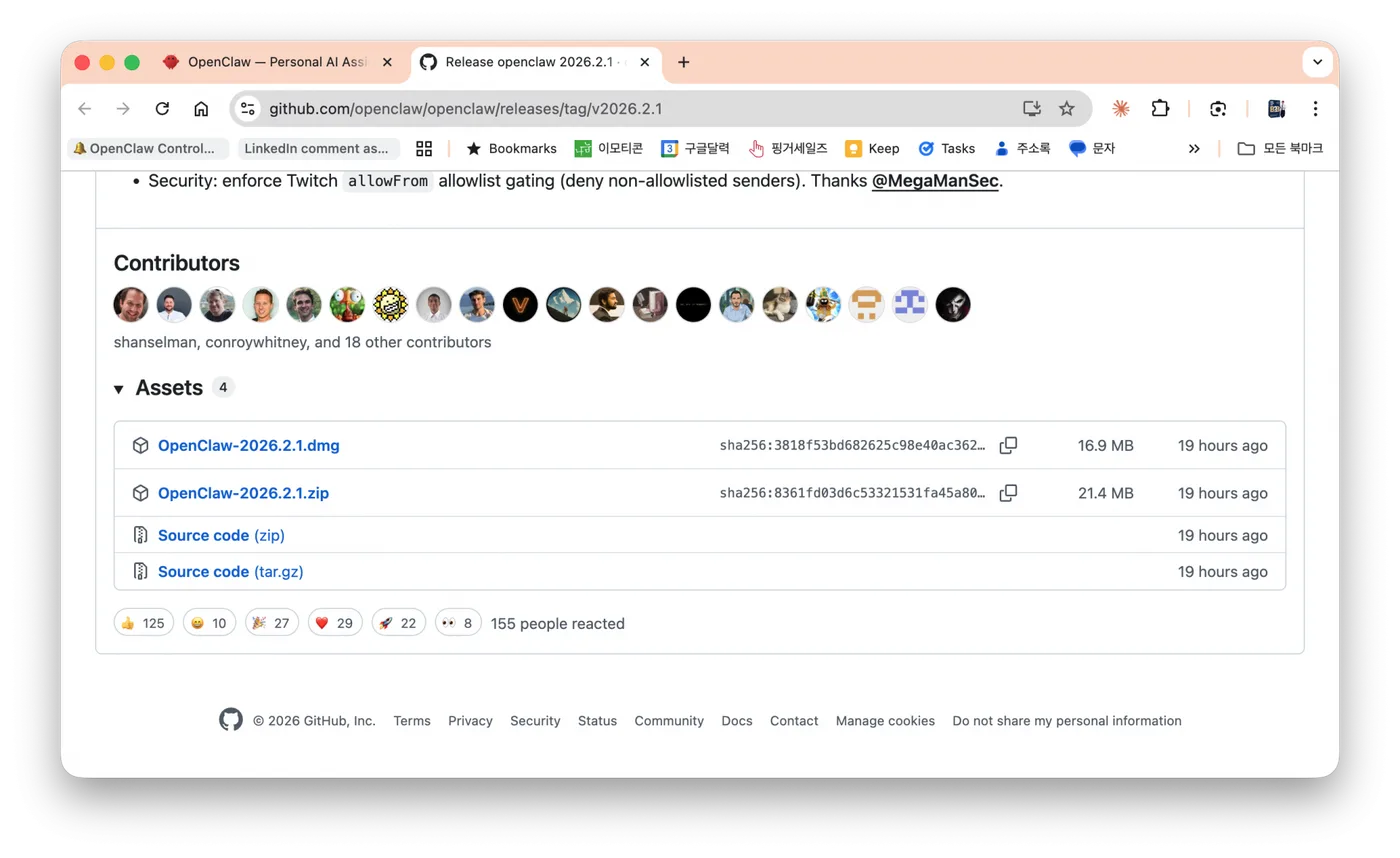
On the page that appears after the cleanup, go to the Assets section at the very bottom and download the dmg file.
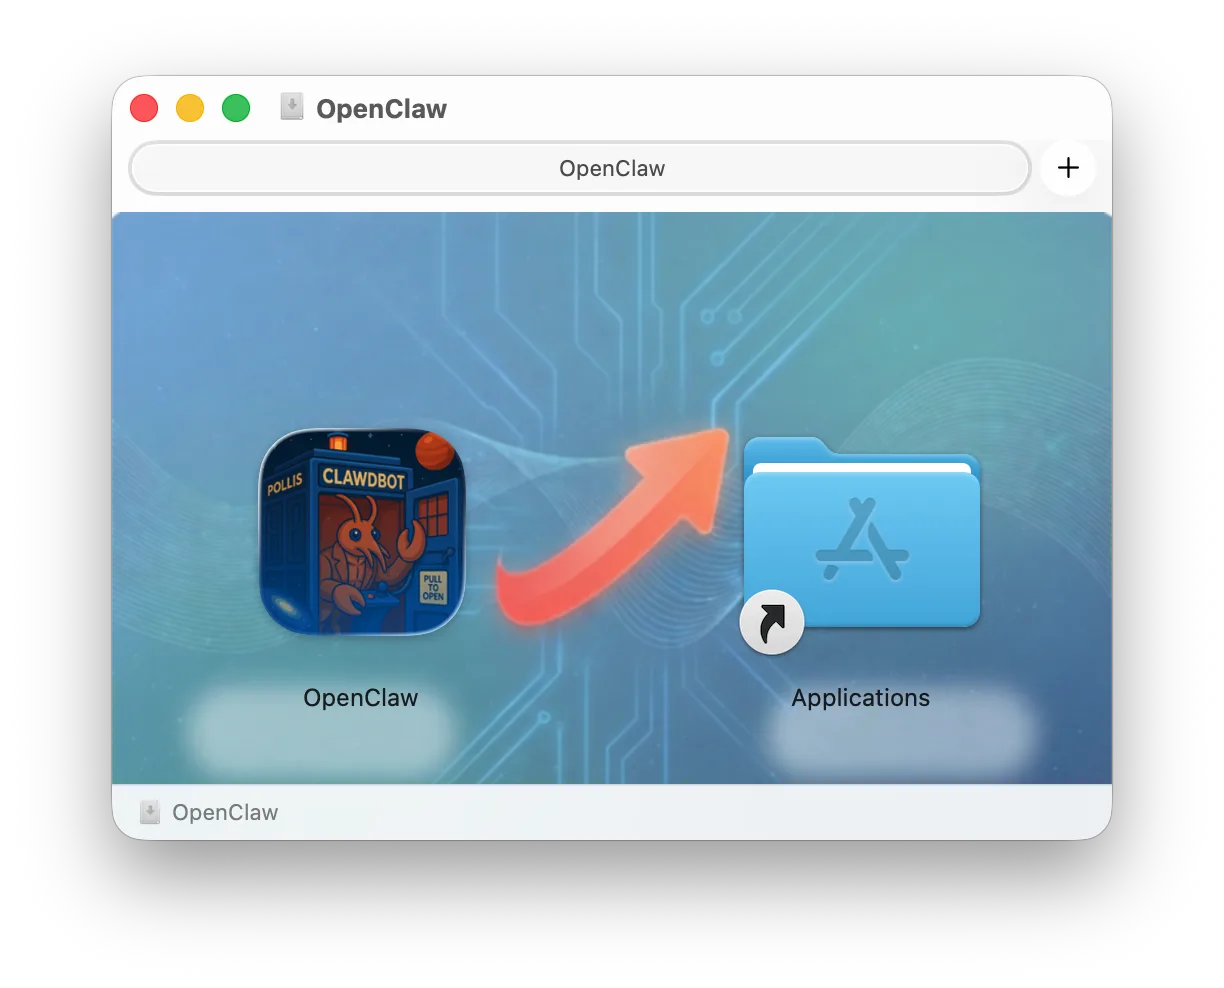
Download the OpenClaw-1 Feb 2026.dmg file, then move it to the Applications folder to install it.
⓷ Opening the Terminal
•Terminal: The Terminal is a window where you give your computer commands in text.
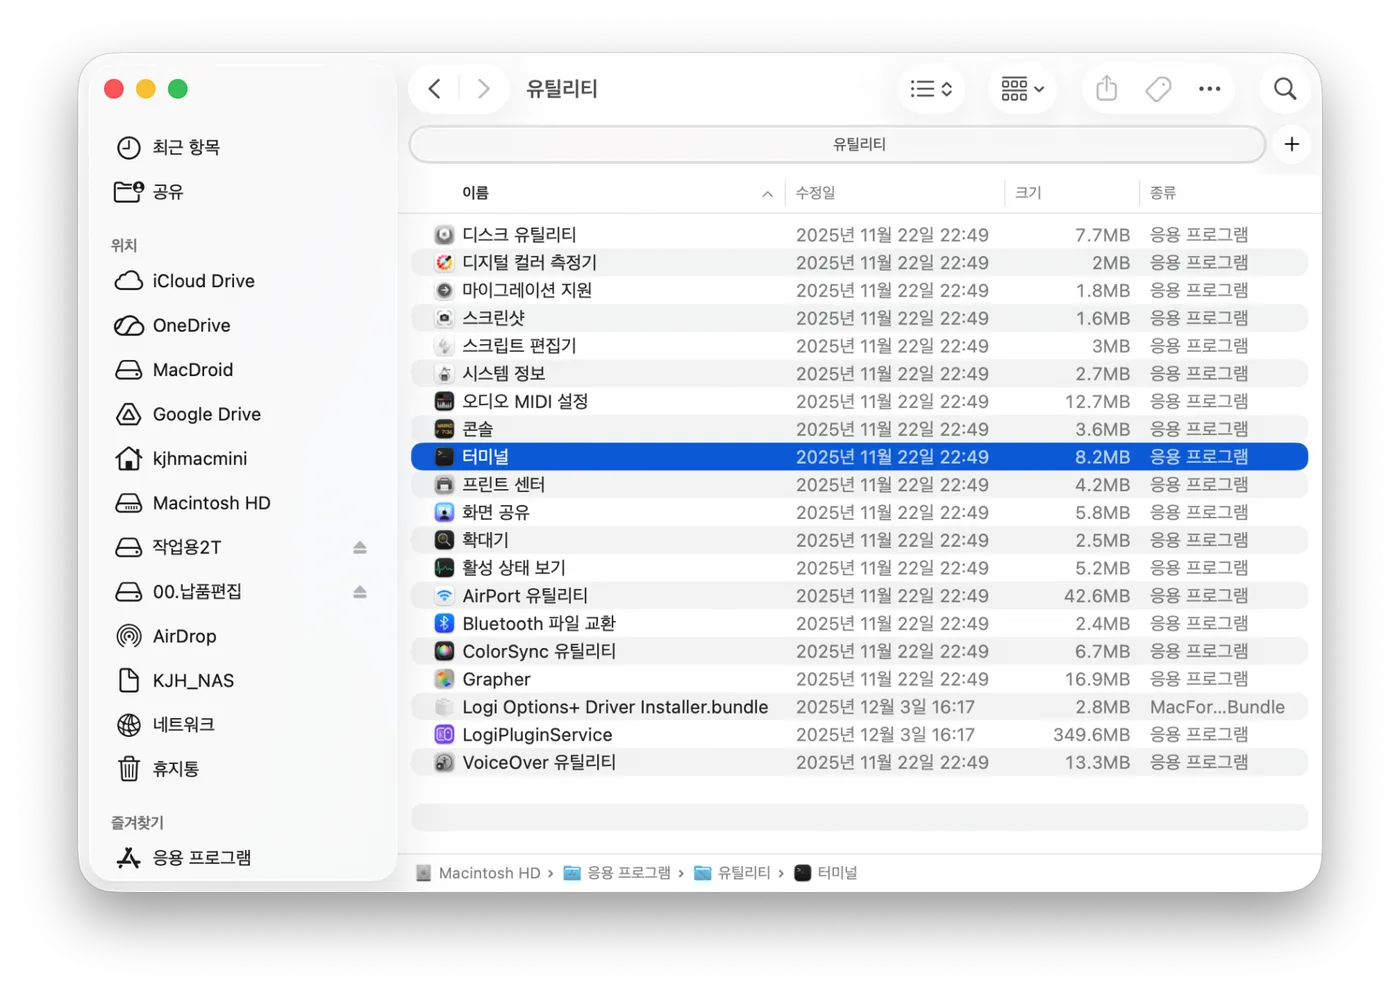
Open the Utilities folder inside Applications and you'll find 'Terminal'. Let's drag it down to the Dock.
⓸ Click Terminal. Something like a notepad will appear below. This is where you type commands.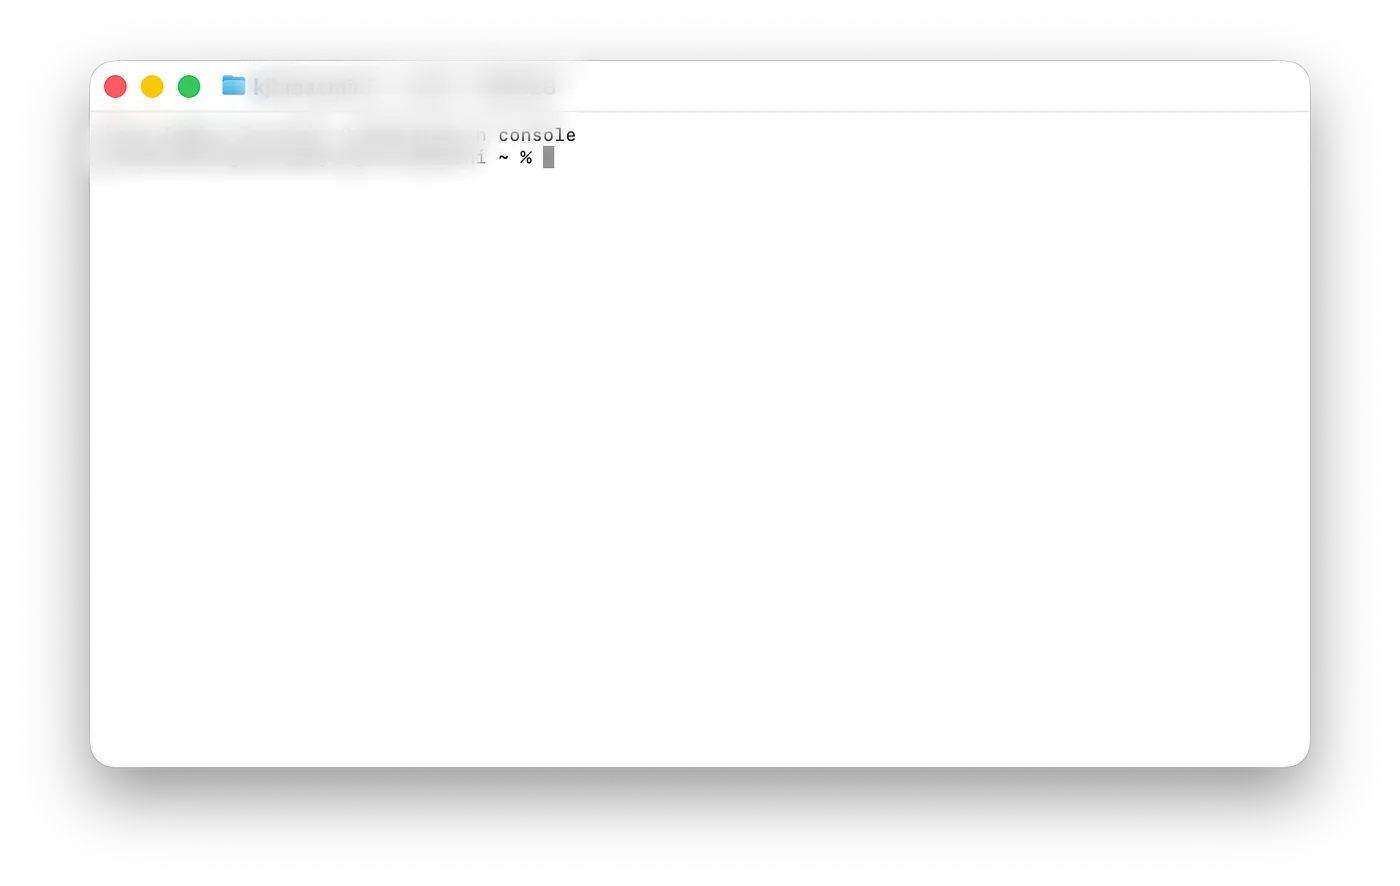
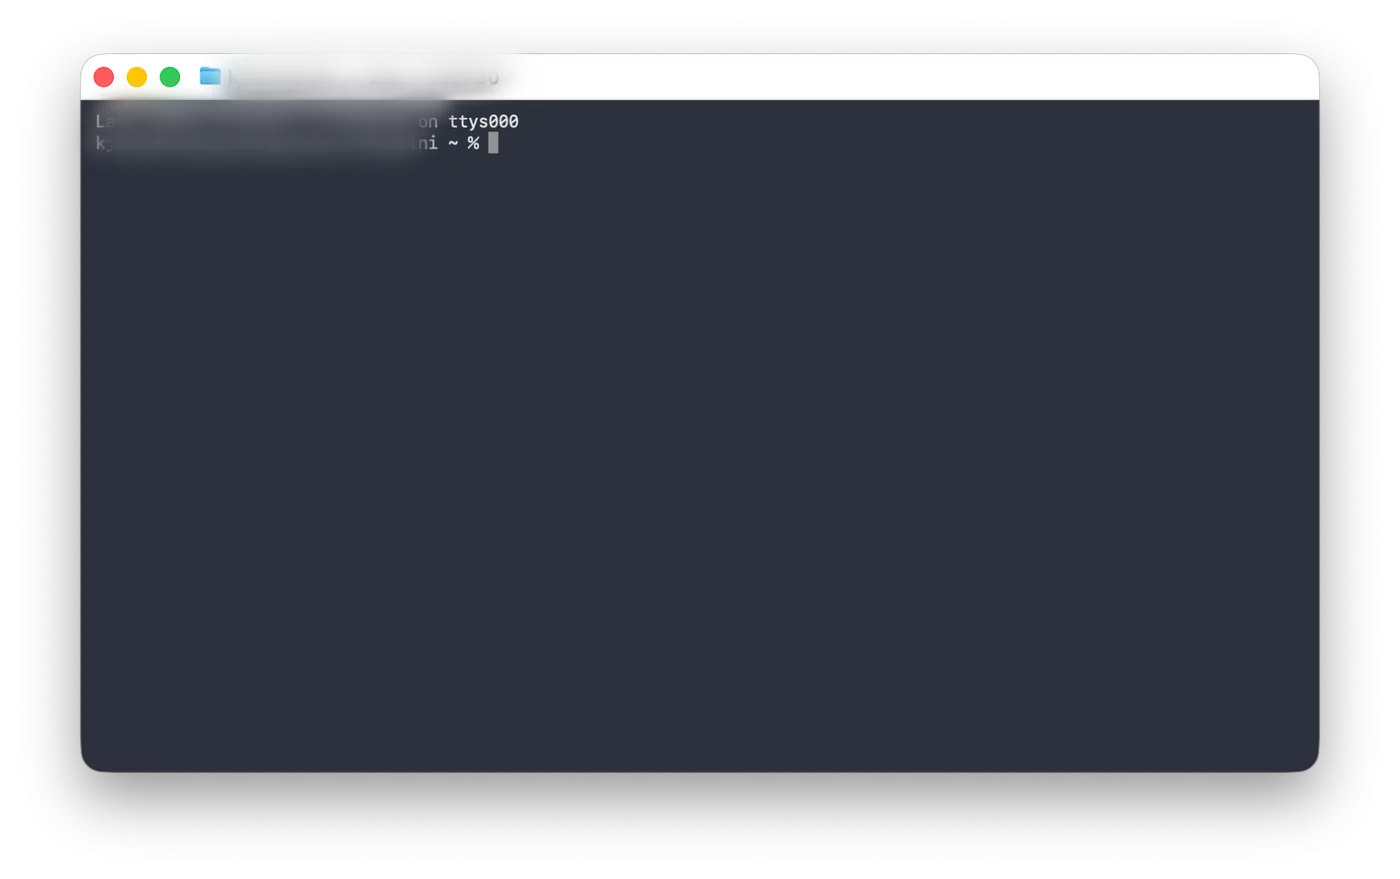
I'll change the background to black in Settings.
⓹ Install Node and prepare to install the OpenClaw CLI
•Node: What is it? When people say Node, they usually mean Node.js. Node.js is a runtime that lets you run JavaScript
It's a runtime environment that lets you run JavaScript outside the web browser (PC·server·terminal). In one line: Node = an engine that runs JavaScript like a ‘program’
First, let’s install the 'Xcode Command Line Tools' in the Terminal. Copy the line below and paste it in.
xcode-select --install
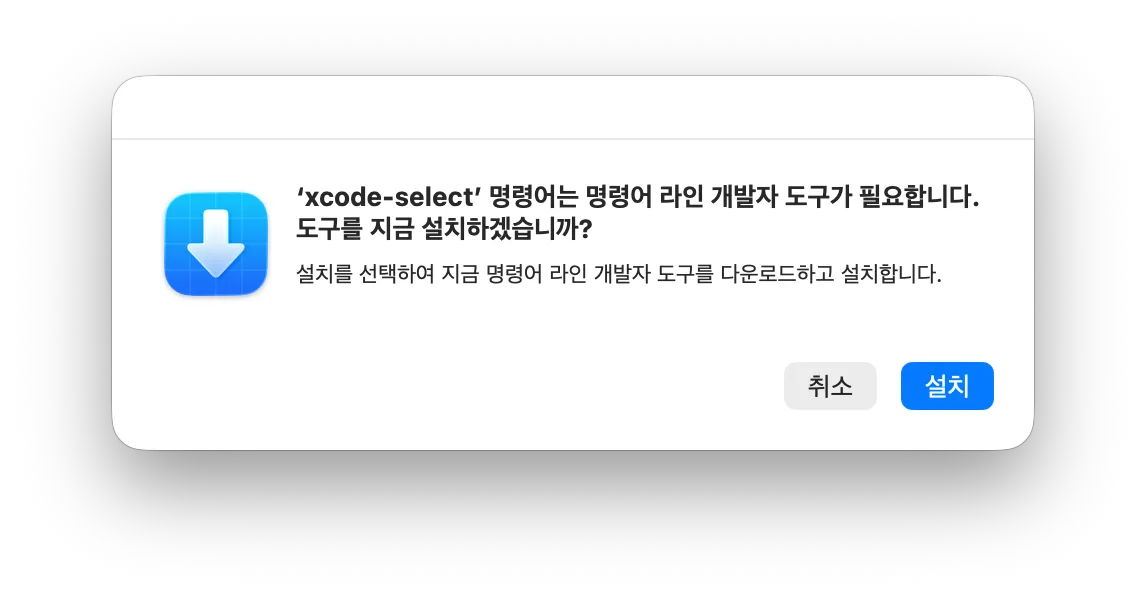
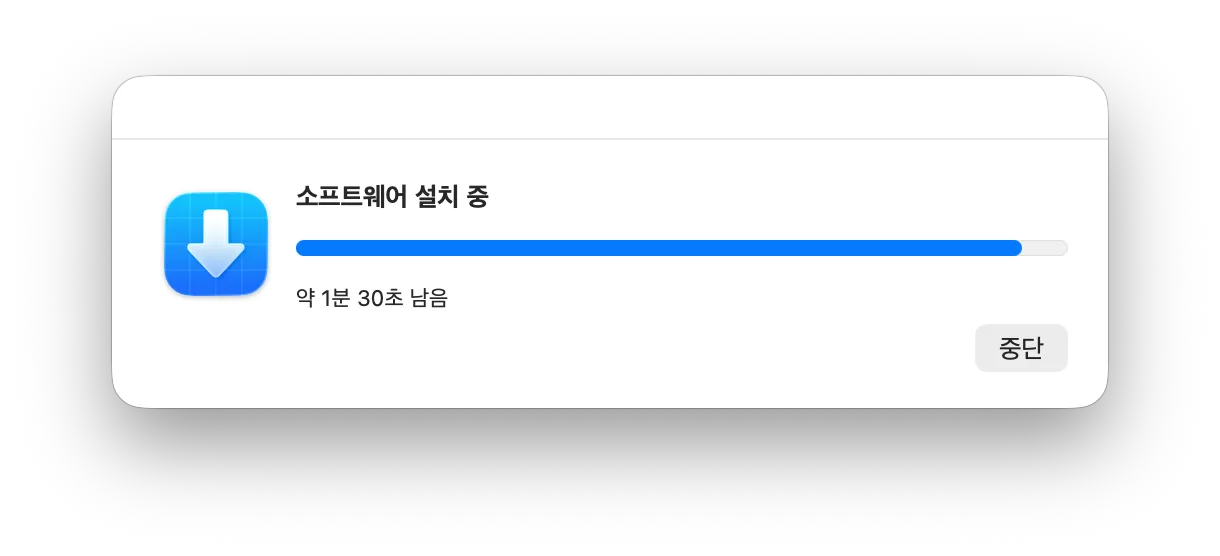
Next, install nvm and Node.js. First, install nvm as shown below.
curl -o- https://raw.githubusercontent.com/nvm-sh/nvm/v0.40.1/install.sh | bash
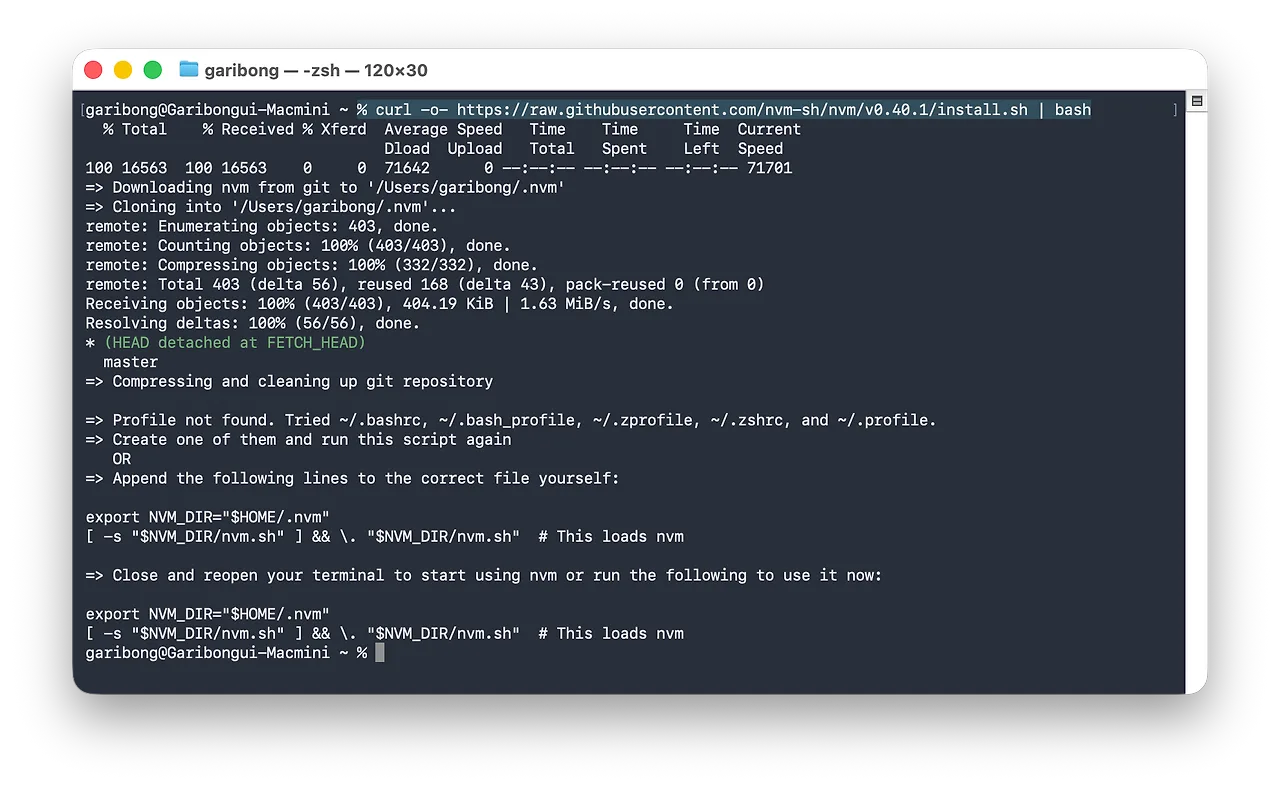 As the message shown during installation says, there was no zshrc file, so I created one and added the two lines below. This is what you'll see on a factory-reset Mac.
export NVM_DIR="$HOME/.nvm"
[ -s "$NVM_DIR/nvm.sh" ] && \. "$NVM_DIR/nvm.sh" # This loads nvm
nvm is now installed, as shown below.
% nvm --version 0.40.1
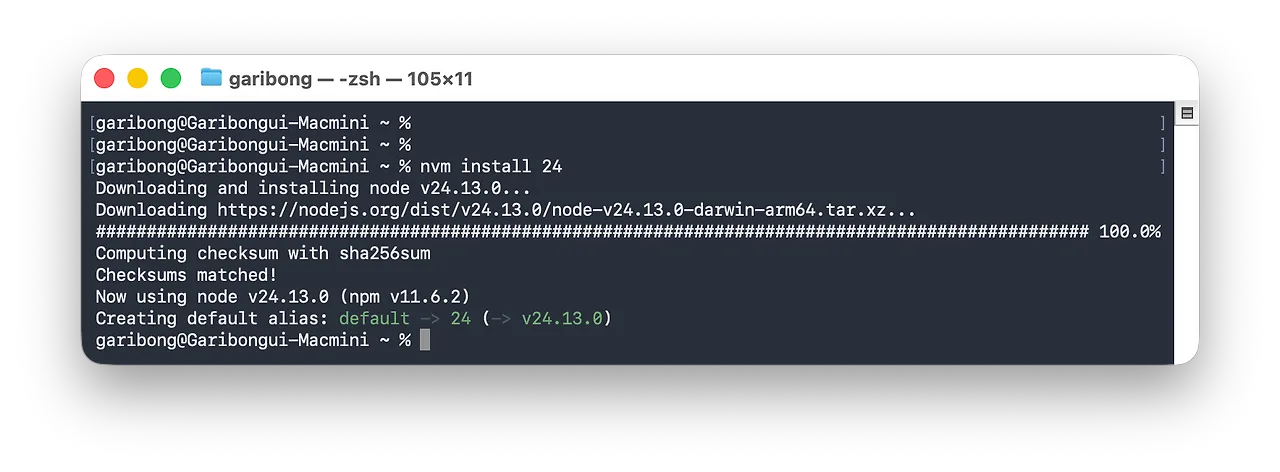
Next, I downloaded and installed Node.js.
nvm install 24
⓺ Install the OpenClaw CLI - download and install
•CLI : Command Line Interface) → a way of telling your computer what to do by typing commands as ‘text’.
The preparation is done, and now we move on to installing the OpenClaw CLI.
curl -fsSL https://openclaw.bot/install.sh | bash
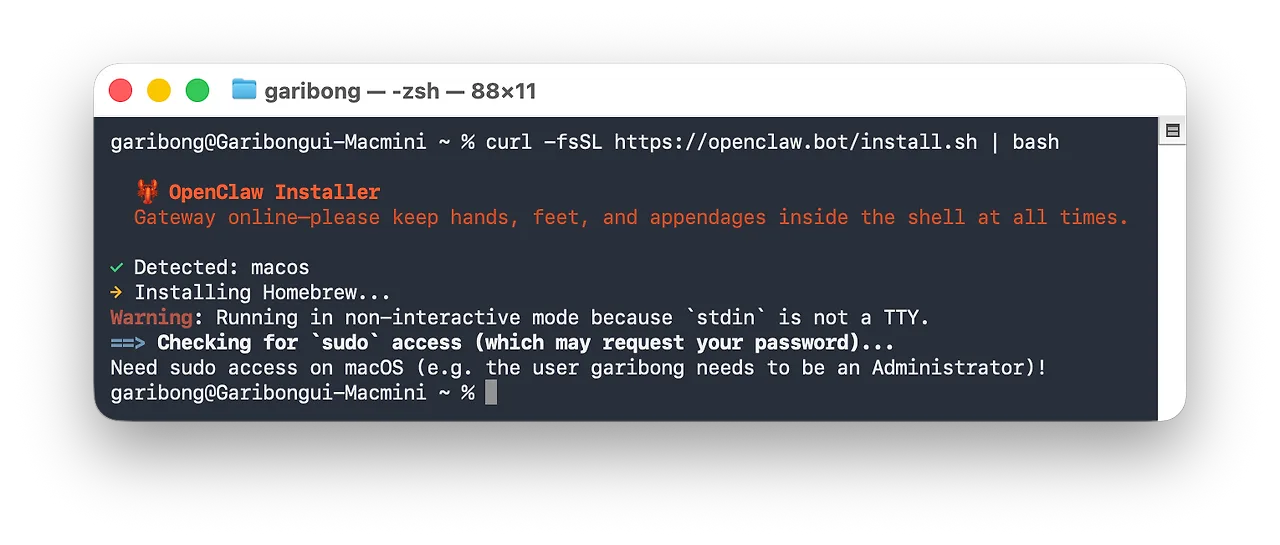
It looks like a sudo permission problem, but the real cause seems to be that Homebrew wasn't installed and the attempt to install it first failed. I paused and installed Homebrew first with the command below.
/bin/bash -c "$(curl -fsSL https://raw.githubusercontent.com/Homebrew/install/HEAD/install.sh)"
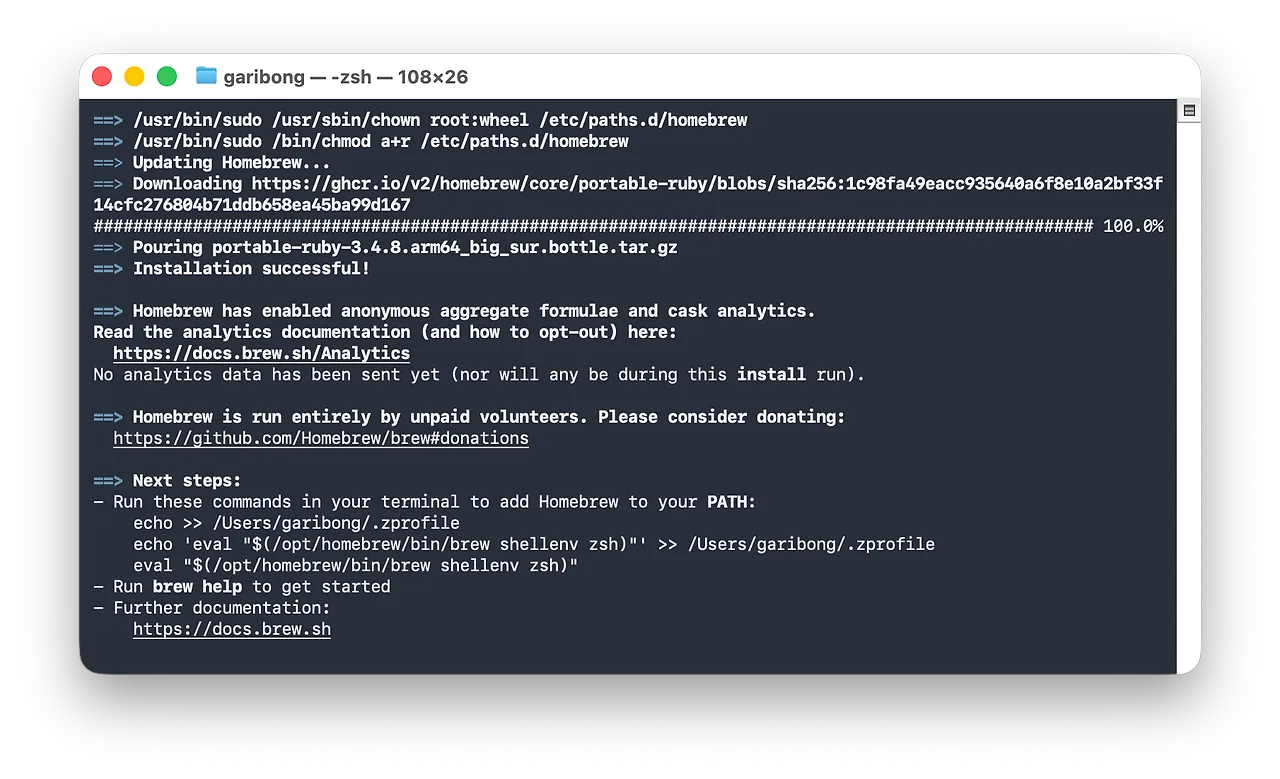
The installation went smoothly. Following the 'Next steps:' in the result message, I set the PATH in .zprofile as shown below. Now it is time to install the real OpenClaw.
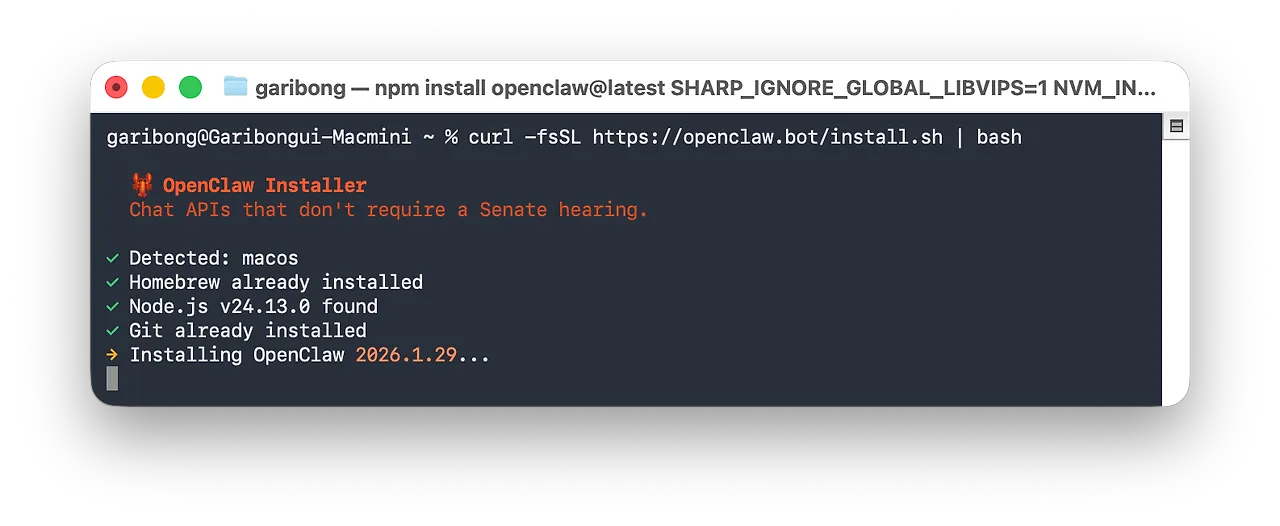
Nothing seems to happen after 'Installing OpenClaw 29 Jan 2026...', but if you wait a moment the installation finishes and the message 'I understand this is powerful and inherently risky. Continue?' appears in red. It feels a bit like choosing between the red pill and the blue pill in The Matrix.. If you select 'Yes', you will have to keep making choices from here on.
OpenClaw CLI Installation: Basic Install Complete, Now Configuring Settings
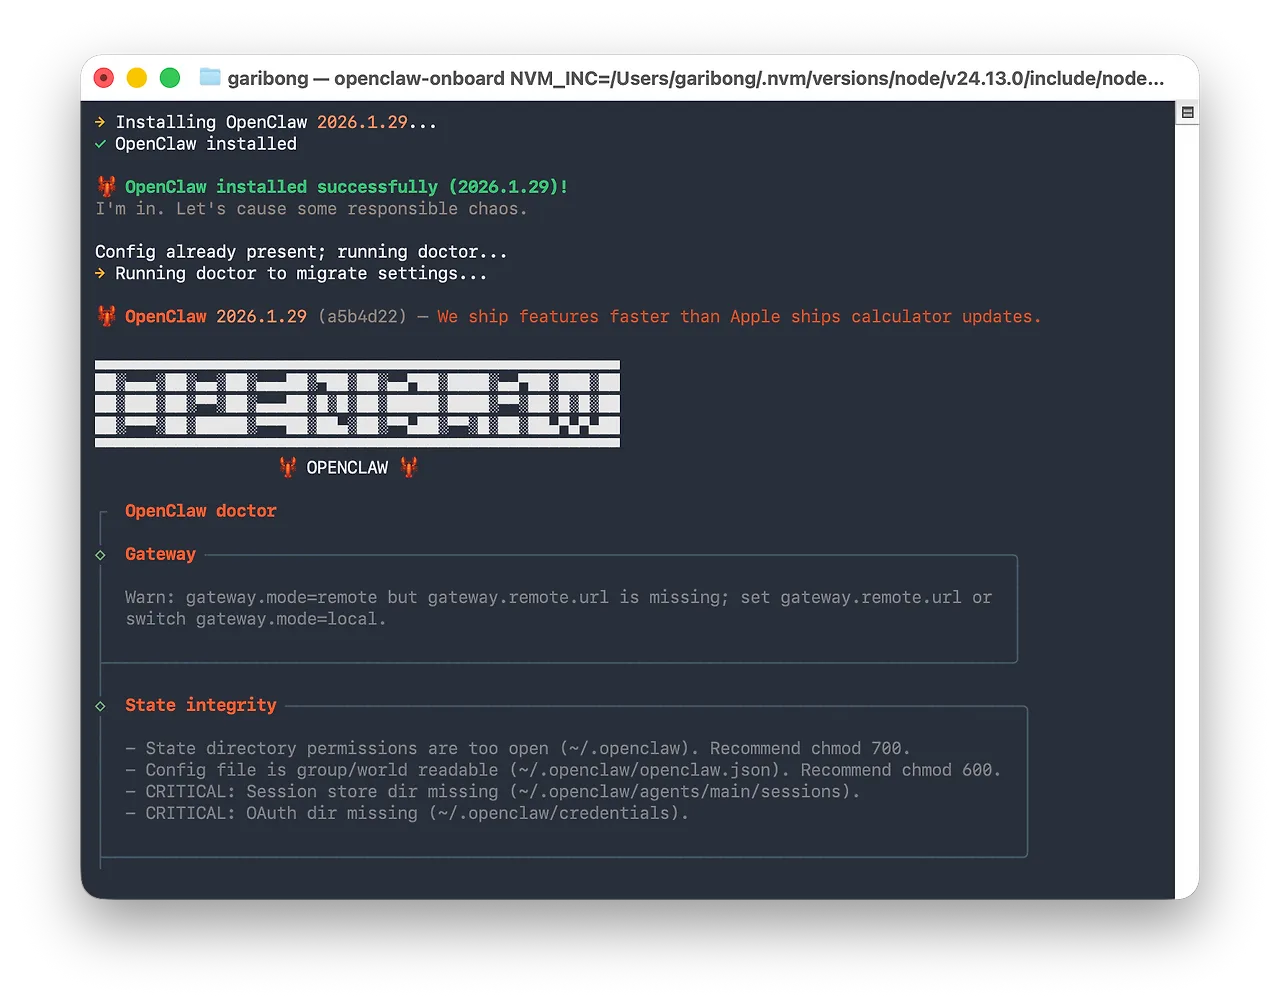
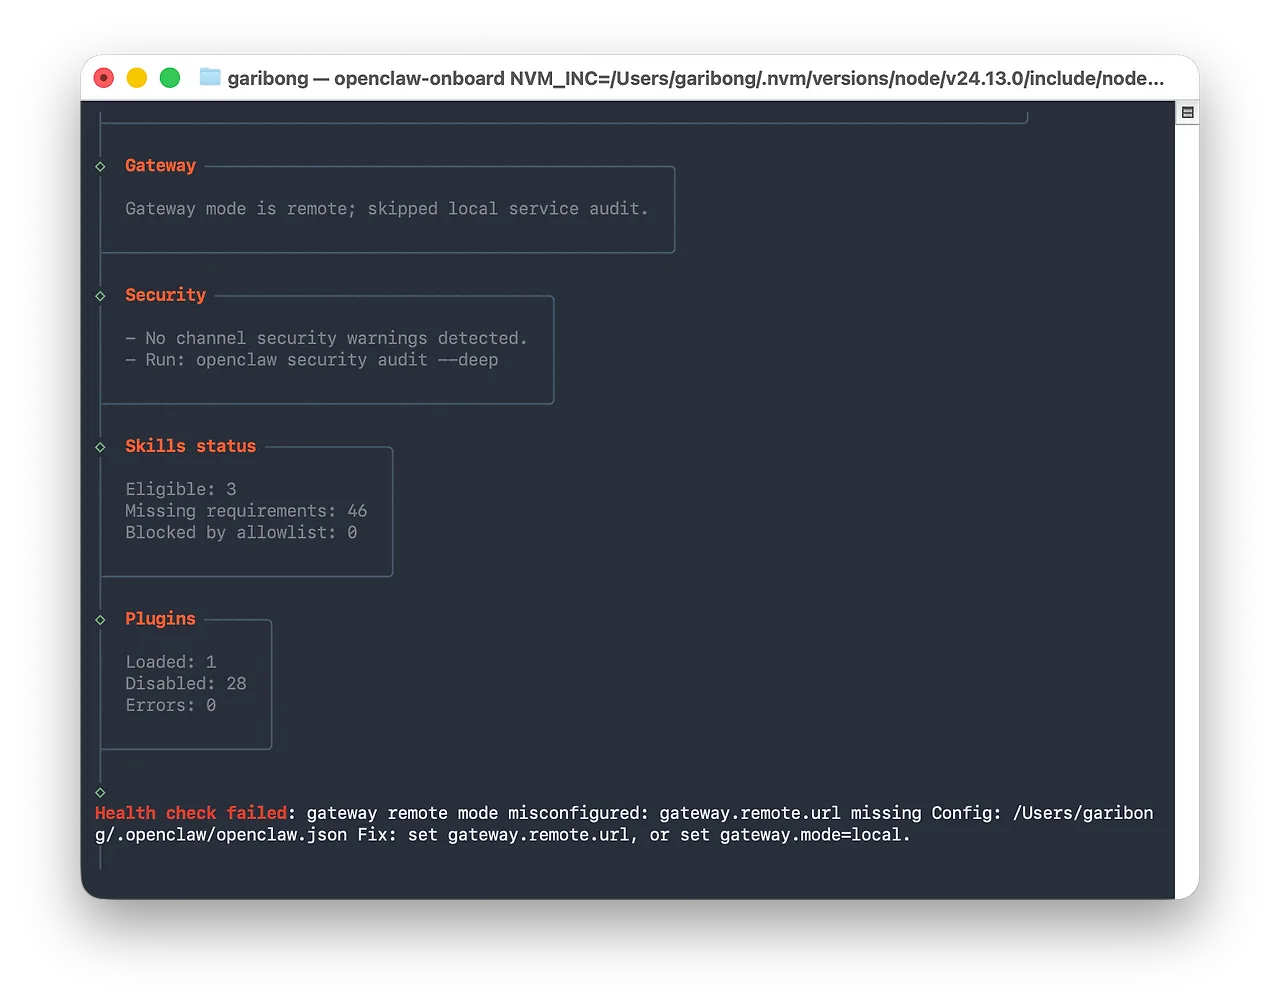
In the image on the right, the last line shows a gateway-related Health check failed error. The gateway can be set to either remote or local, and I believe the default was remote. I never changed it to local myself, yet the service came up fine, so it seems to have been switched automatically during the onboard process that follows.
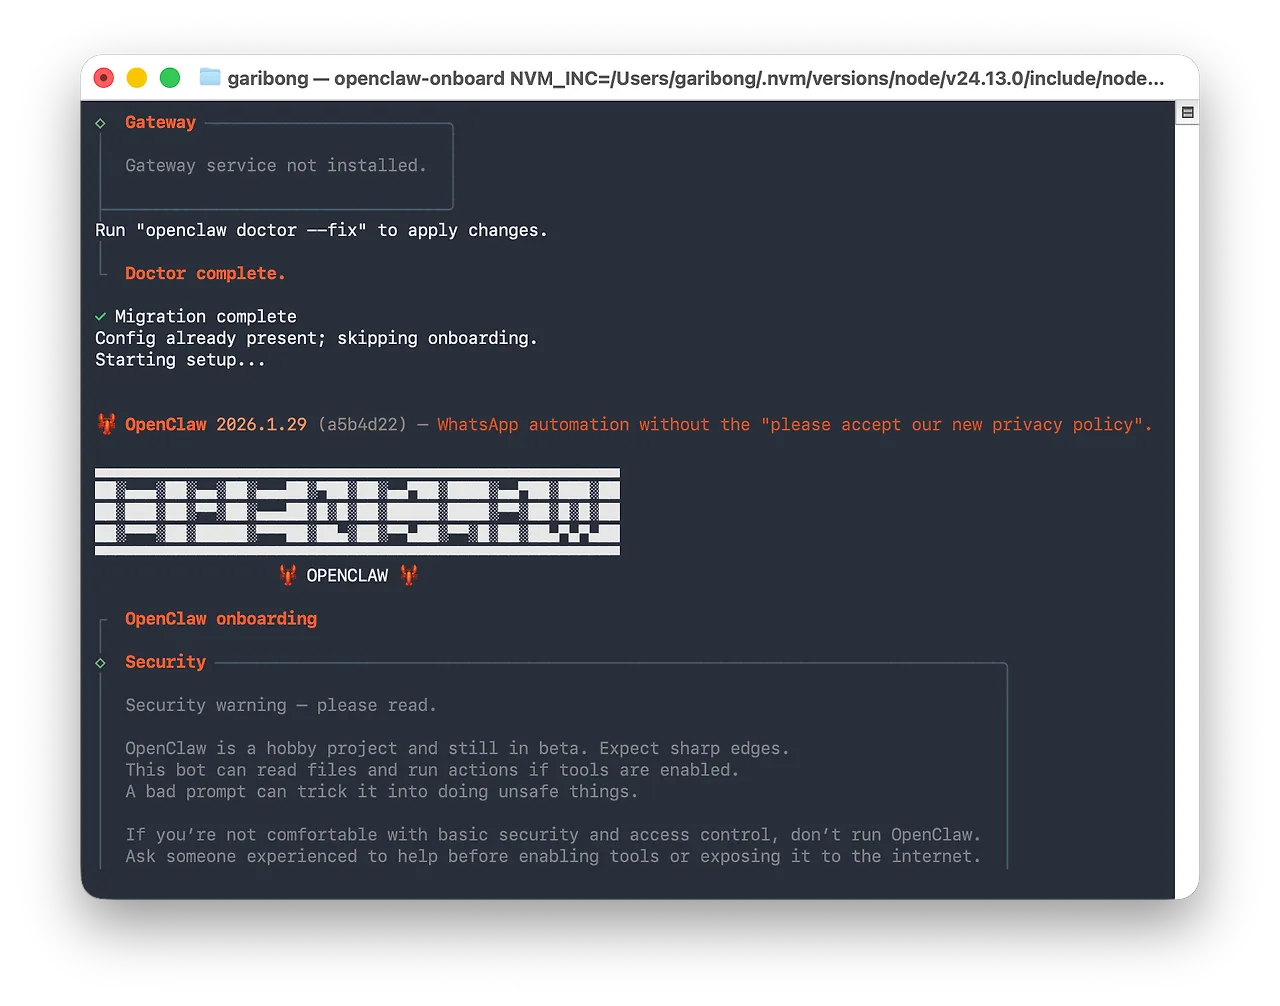
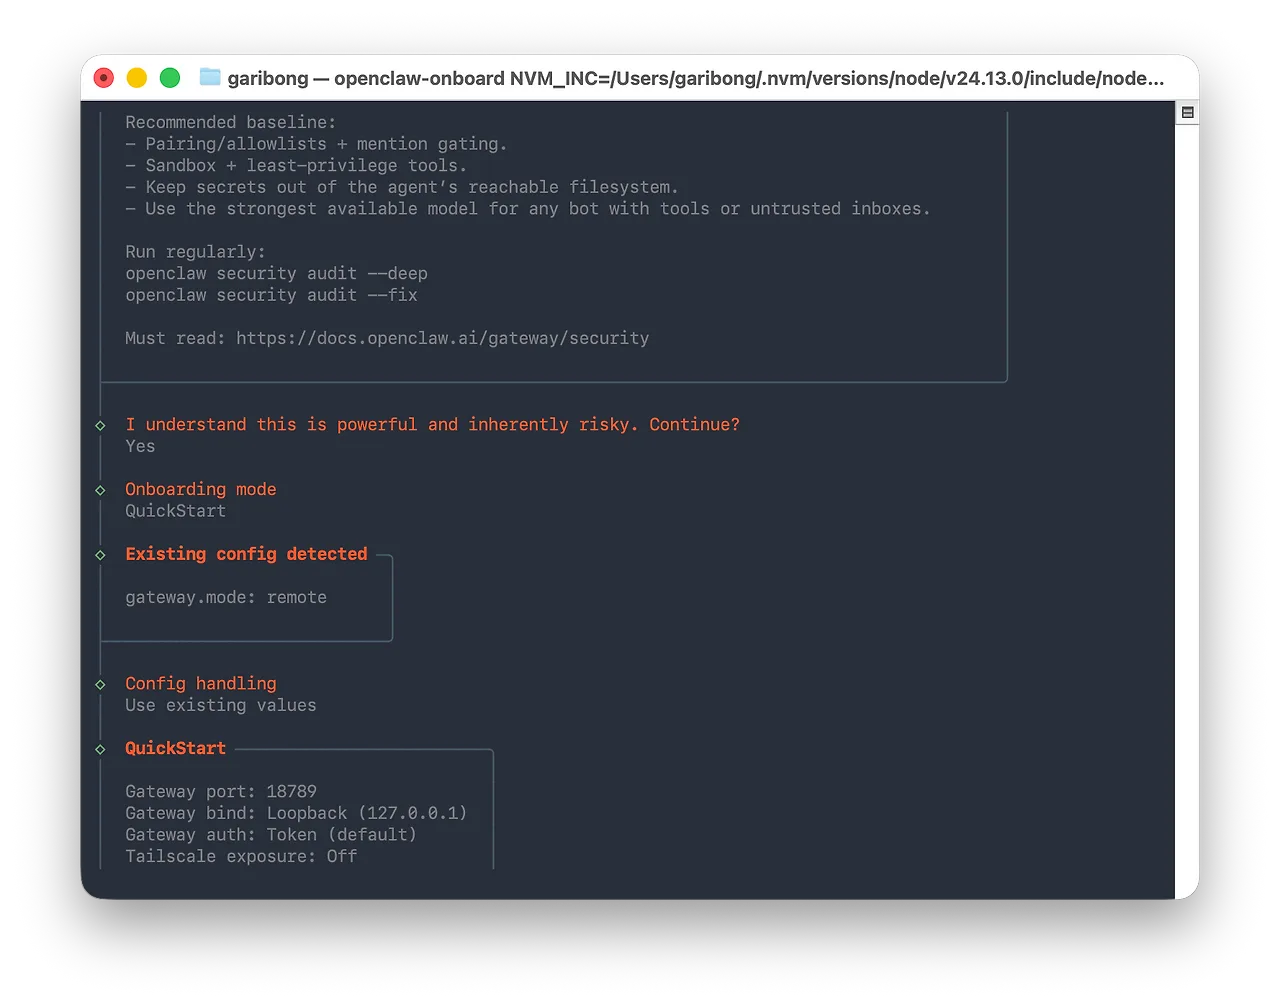
It's hard to list every option that needs to be selected or configured here, and there's no real need to. The main items are below.
- Onboarding mode: Choose between Manual and QuickStart. I chose 'QuickStart' to see it running as fast as possible.
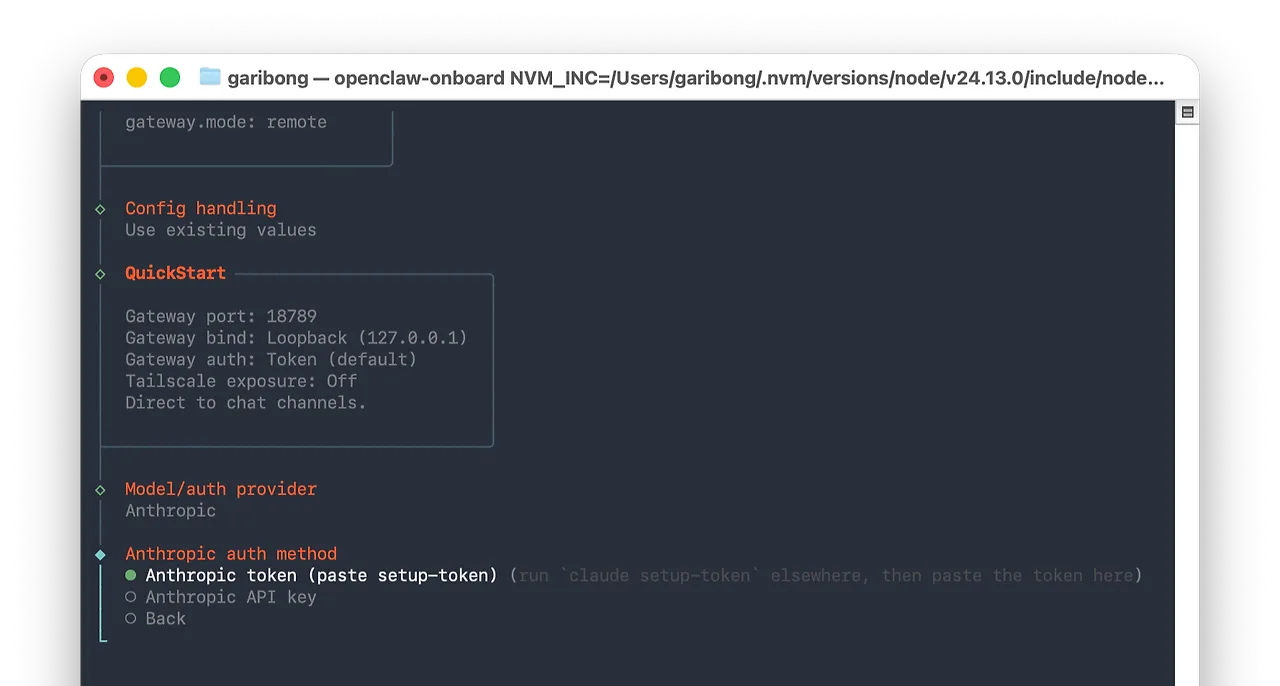
- Model/auth provider: A long list of models and providers appears. I subscribe to Claude Max, so I chose 'Anthropic'.
- Anthropic auth method: Choose either an API key or an OAuth token. You can get an OAuth token by entering the following in the terminal. Claude Code must be installed, of course.
claude setup-token
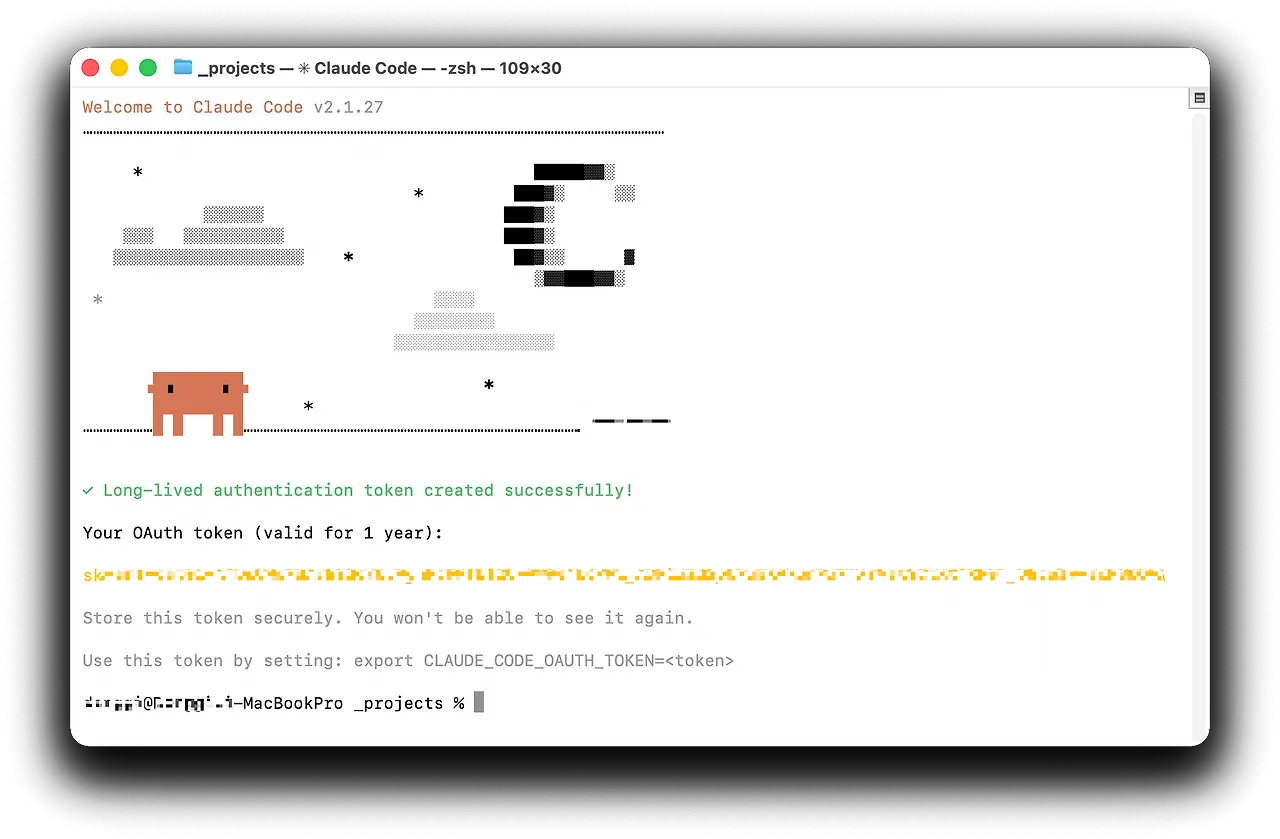
The browser opens briefly, and the OAuth token appears in yellow text in the terminal, as shown above. Copy it and paste it into the terminal where you are installing the OpenClaw CLI, as shown in the image below.
Install the OpenClaw CLI - Set Up the Telegram Channel
Now it is time to set up the channel for communicating with OpenClaw.
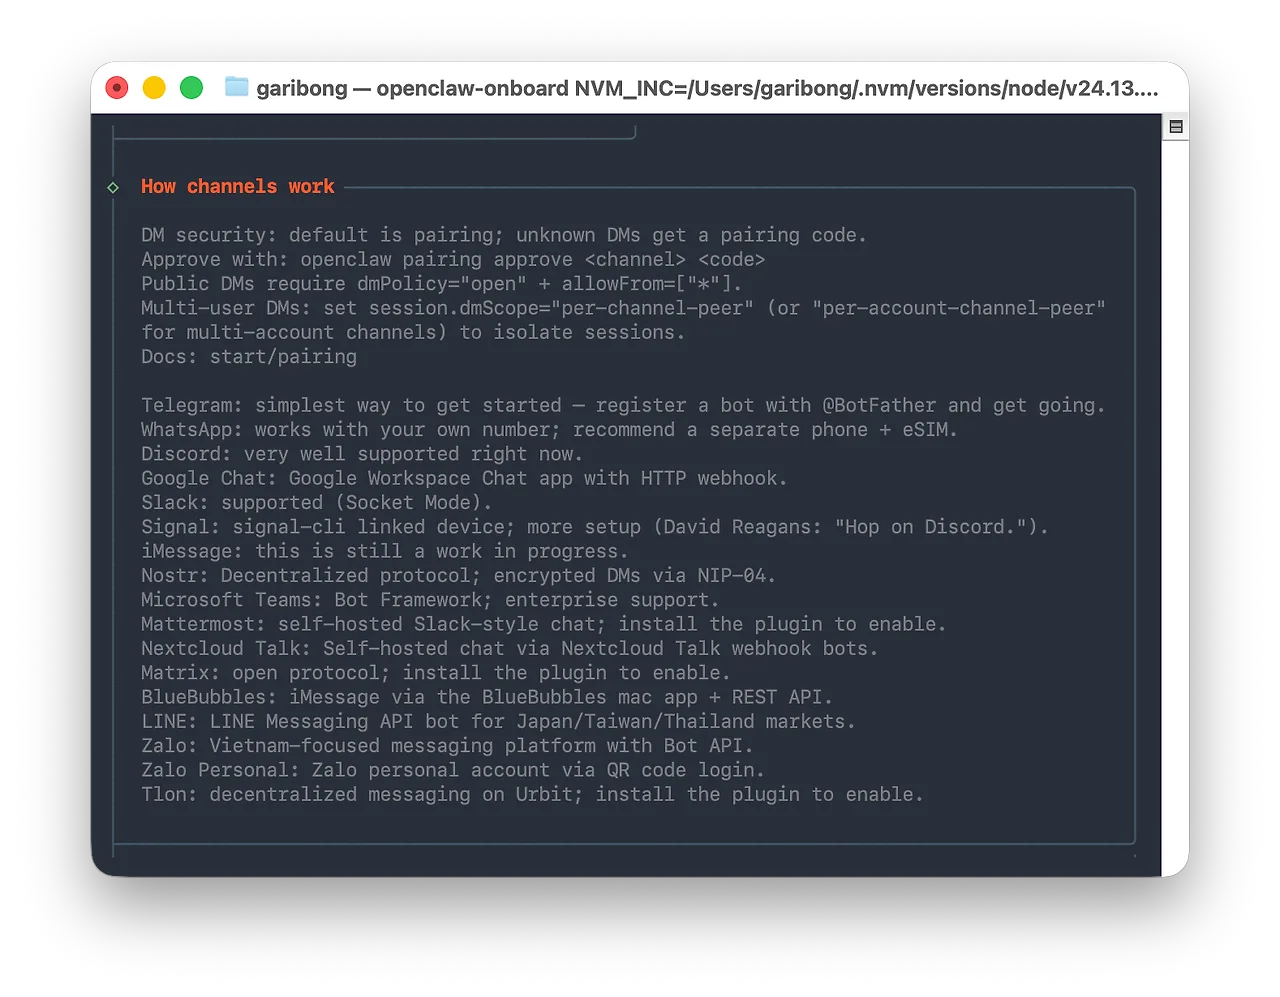
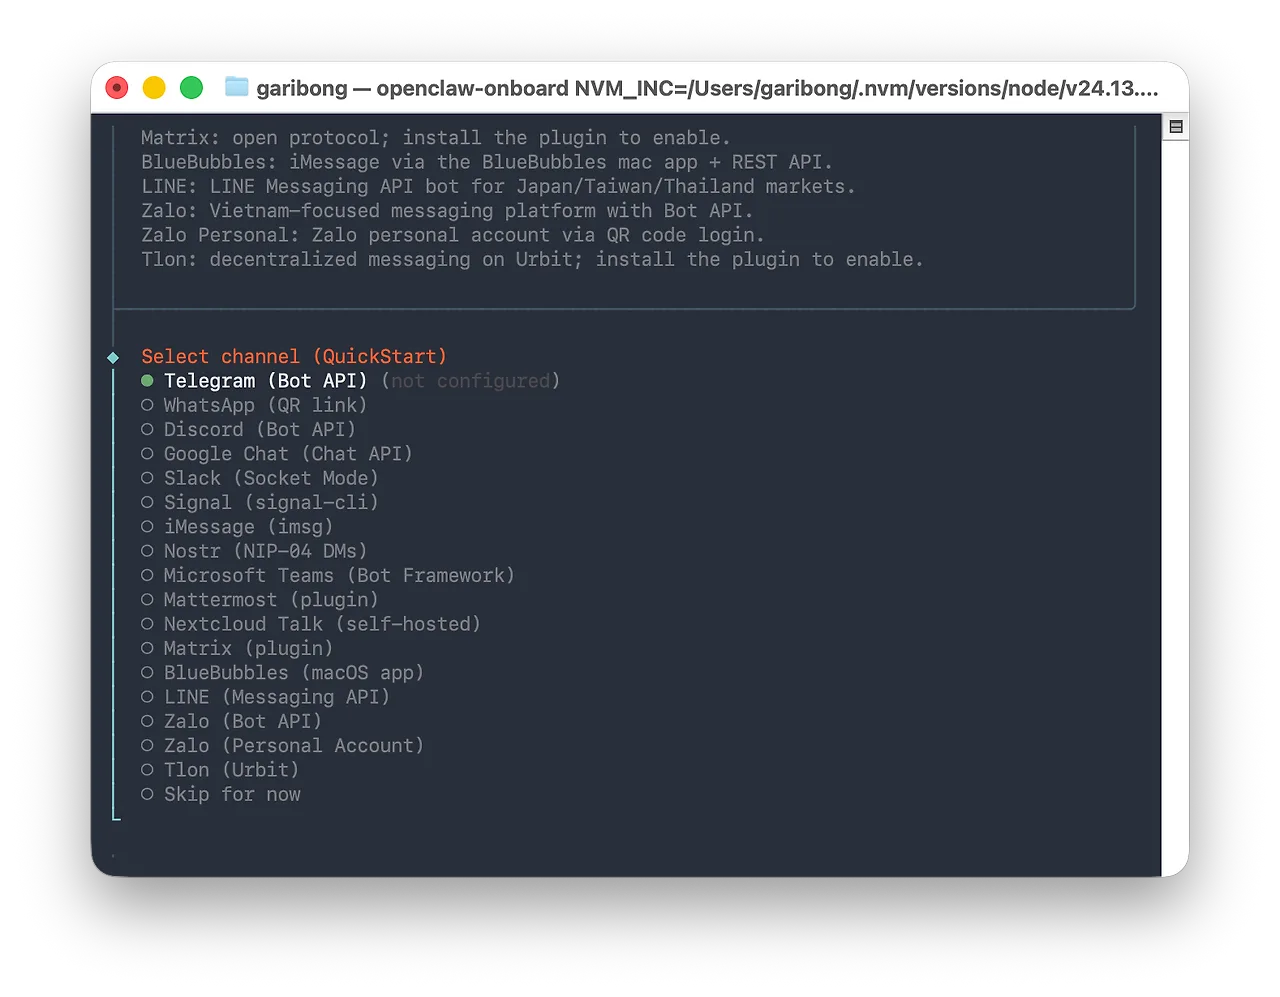
As the image on the right shows, it supports many channels, including Telegram, WhatsApp, and Discord. The docs said Telegram is the simplest, so I chose it without a second thought. I set up Telegram by following the document below on the official website.
https://docs.openclaw.ai/channels/telegram
Open the Telegram app, search for @BotFather, and open the chat window. This is not specific to OpenClaw; it is the general process for adding a bot to Telegram.
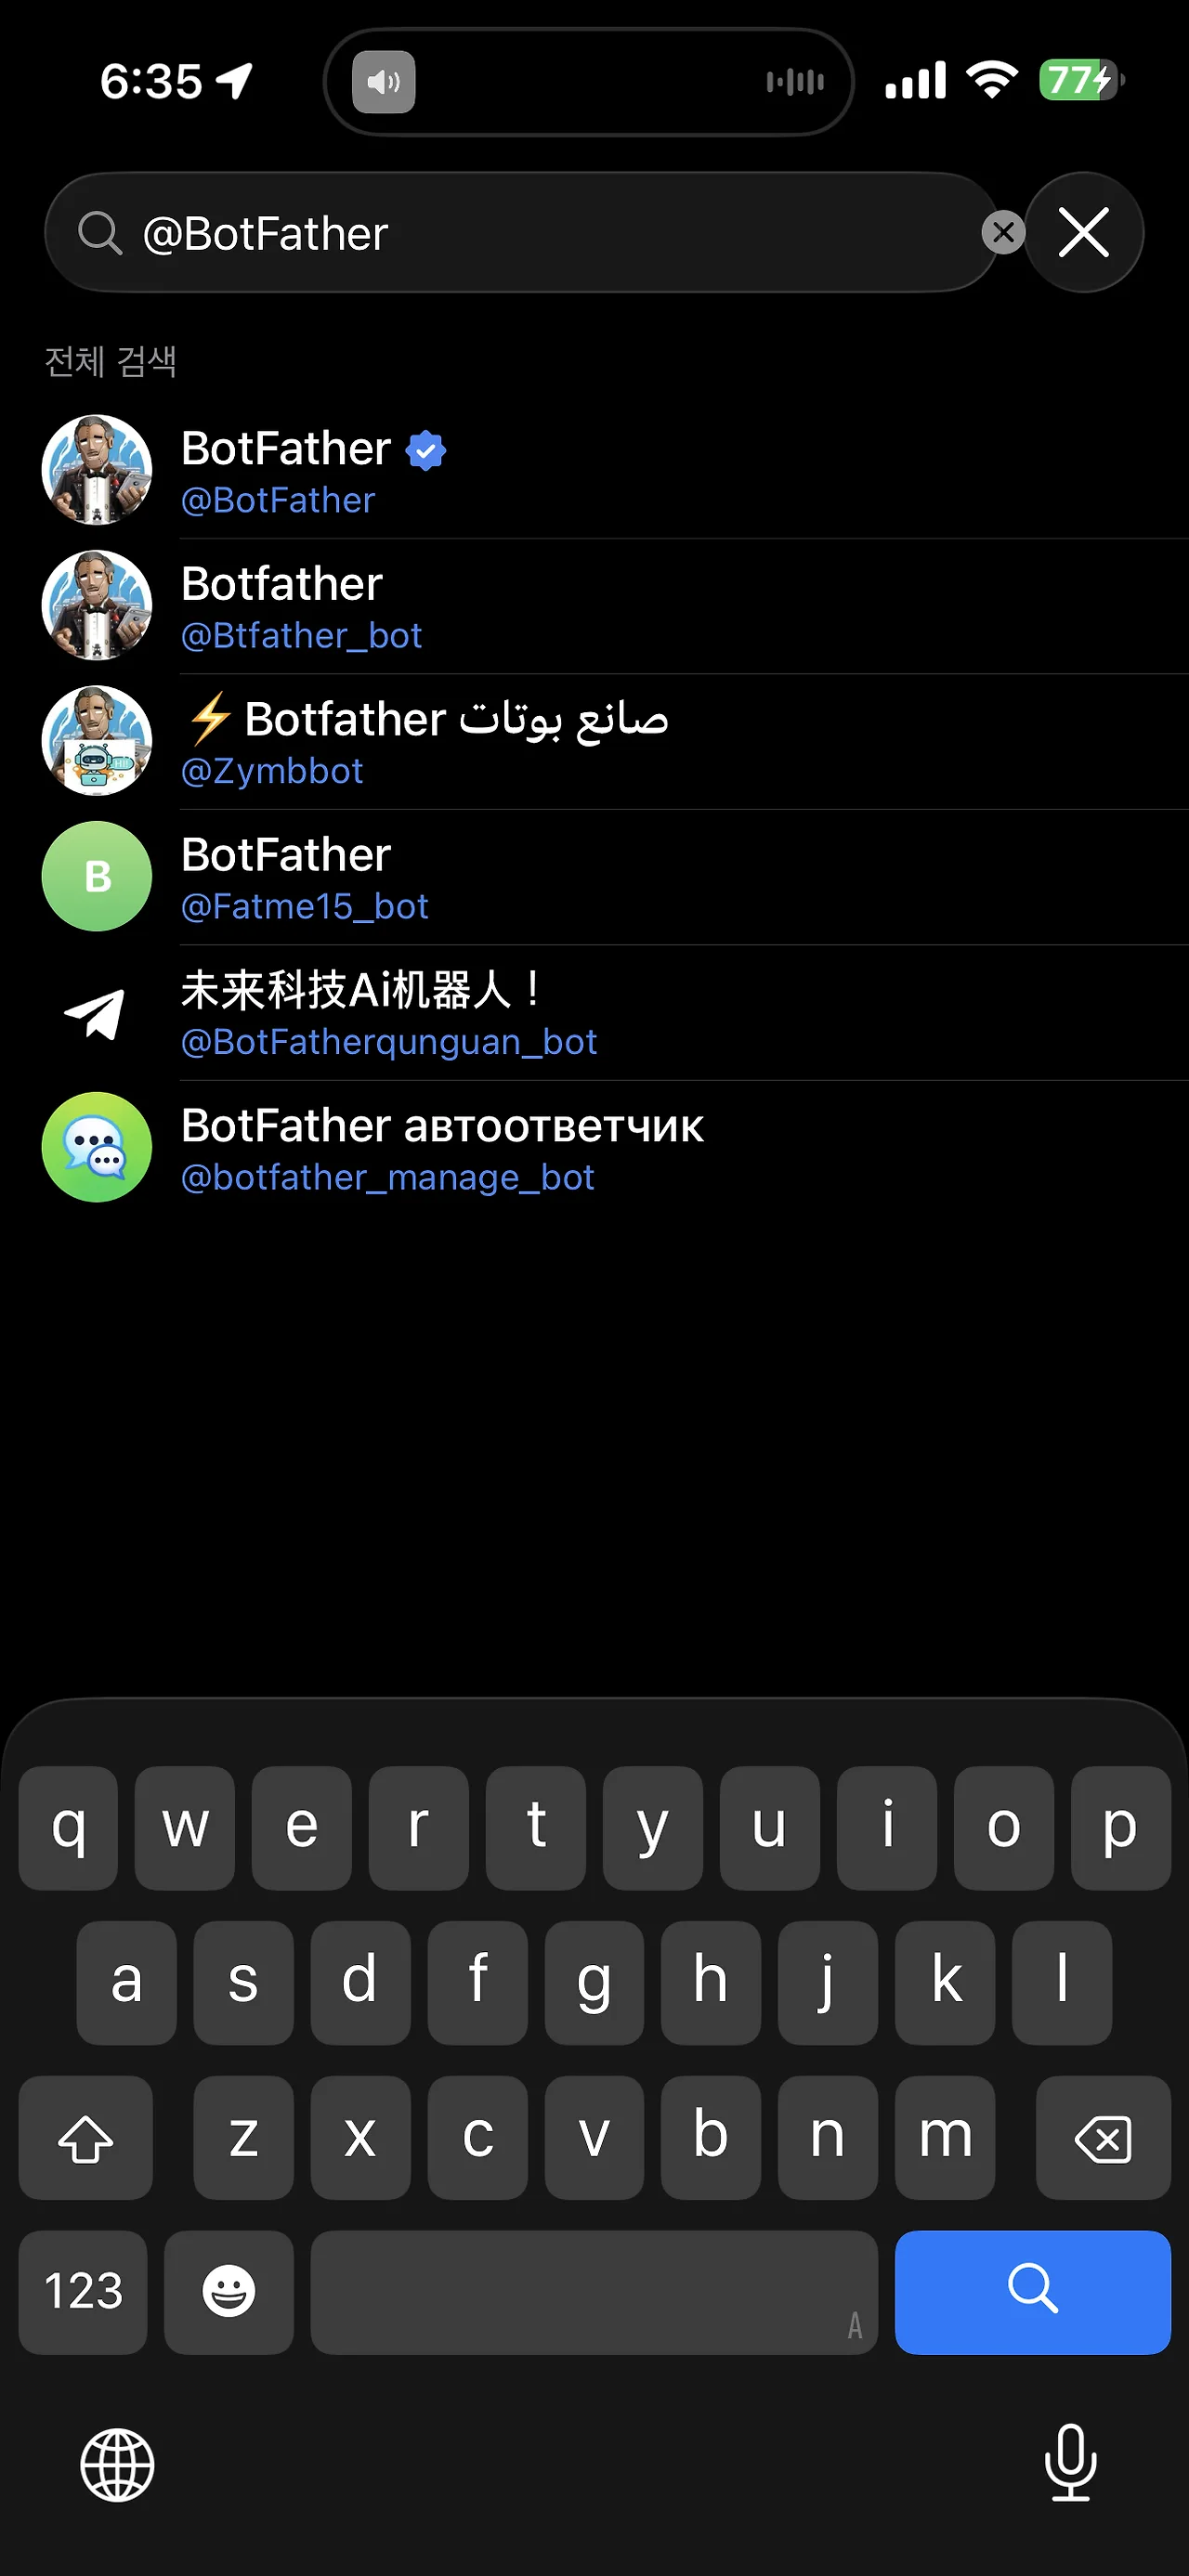
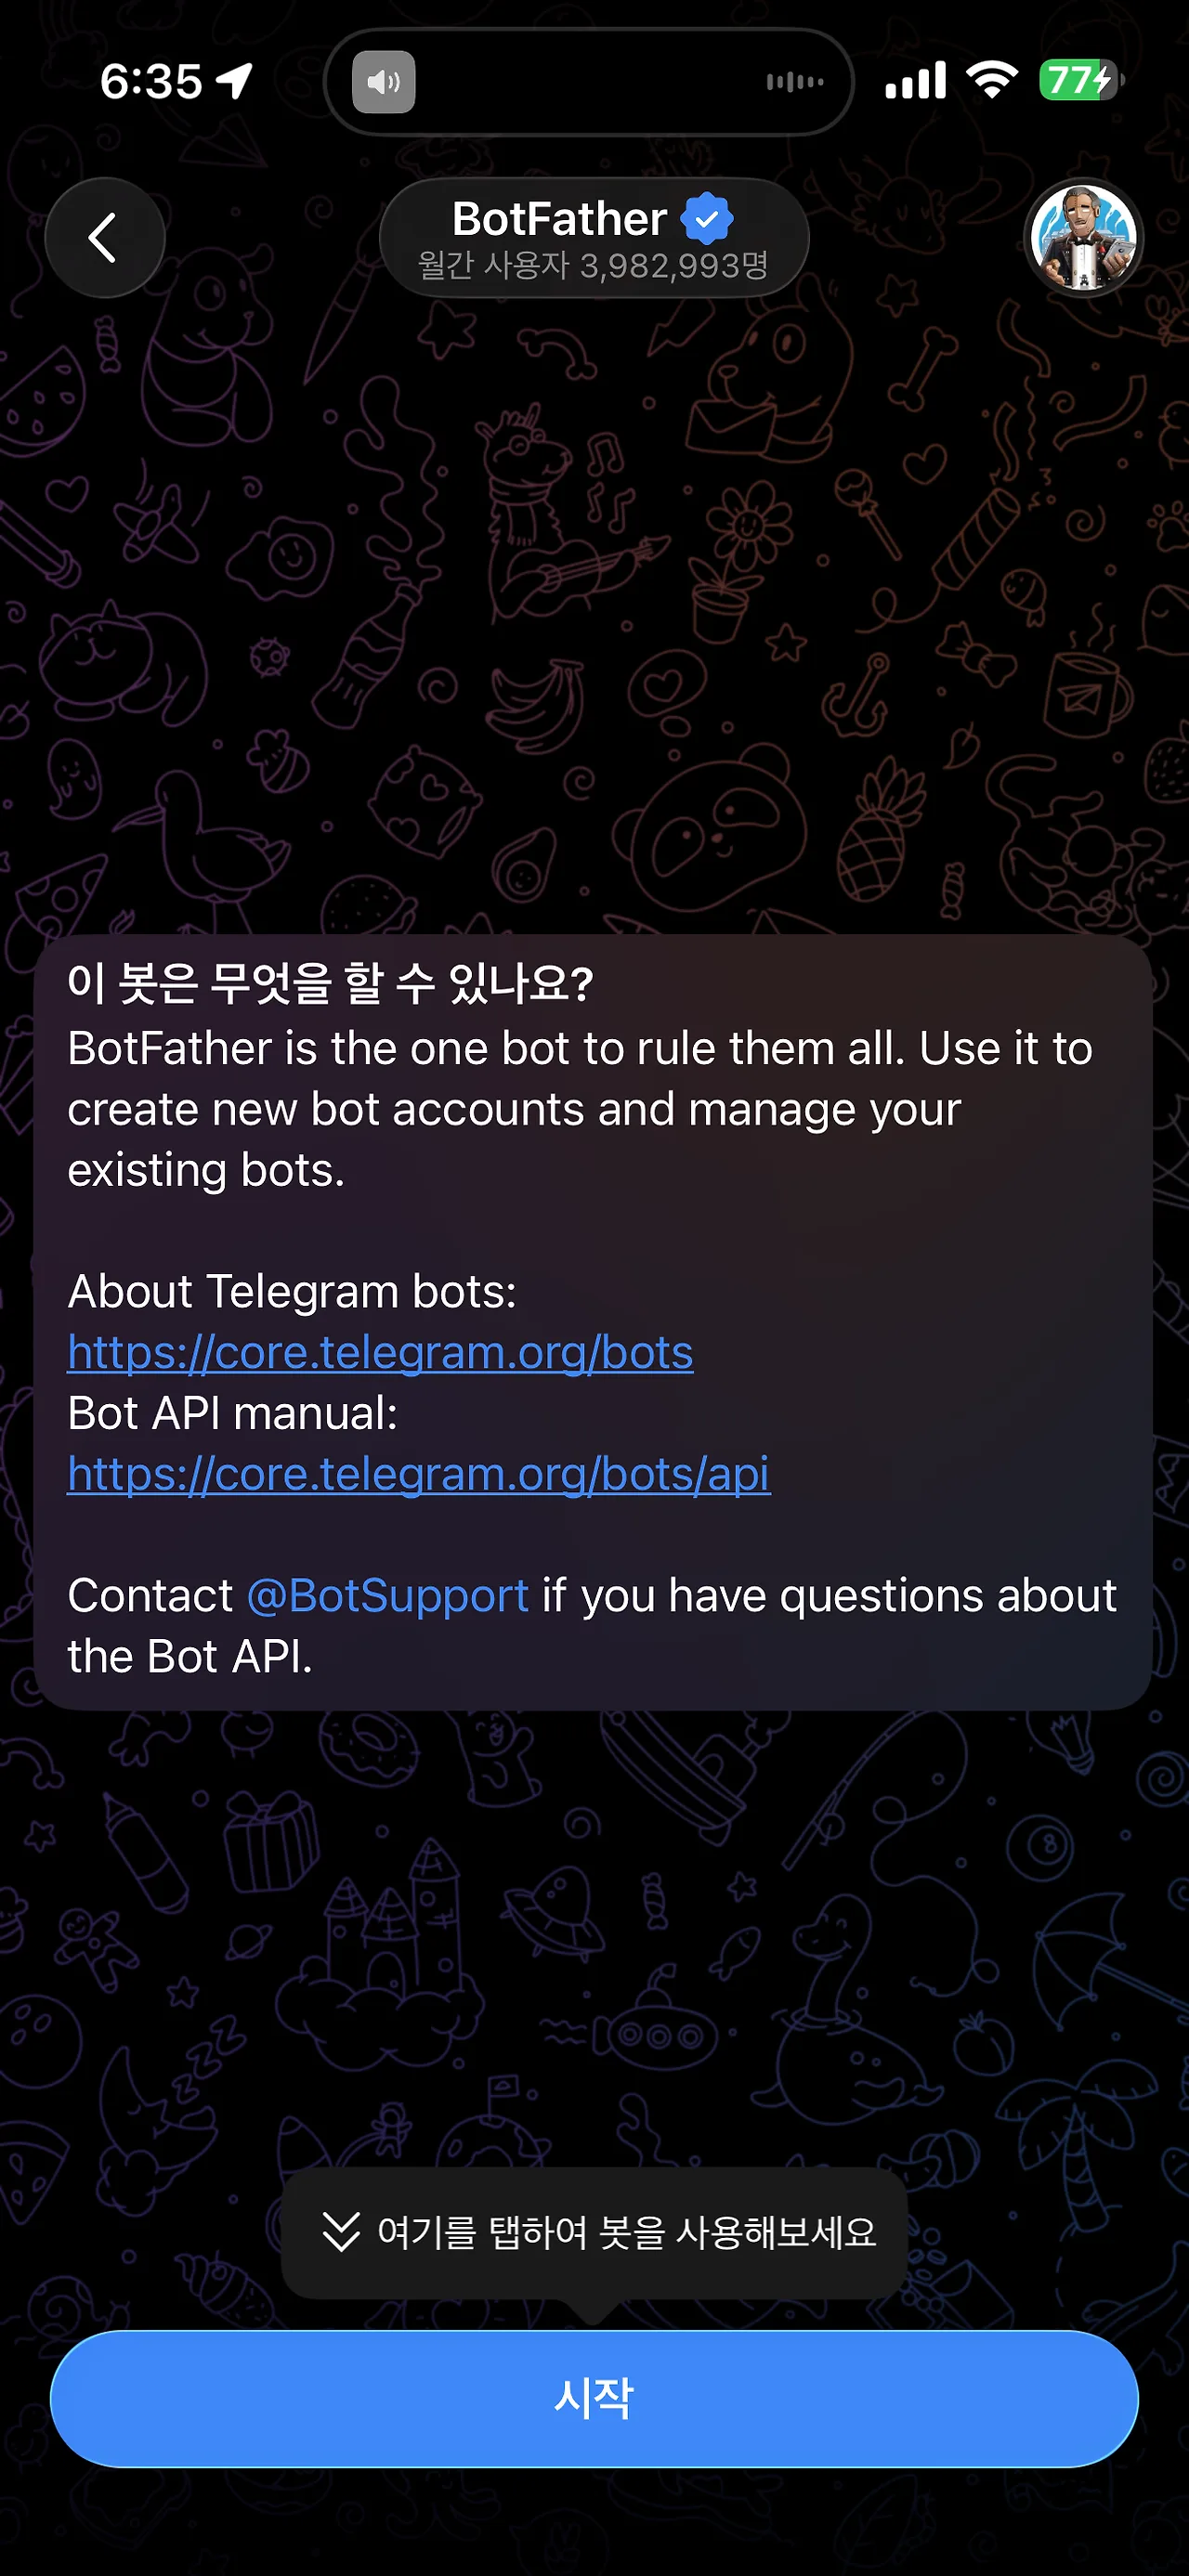
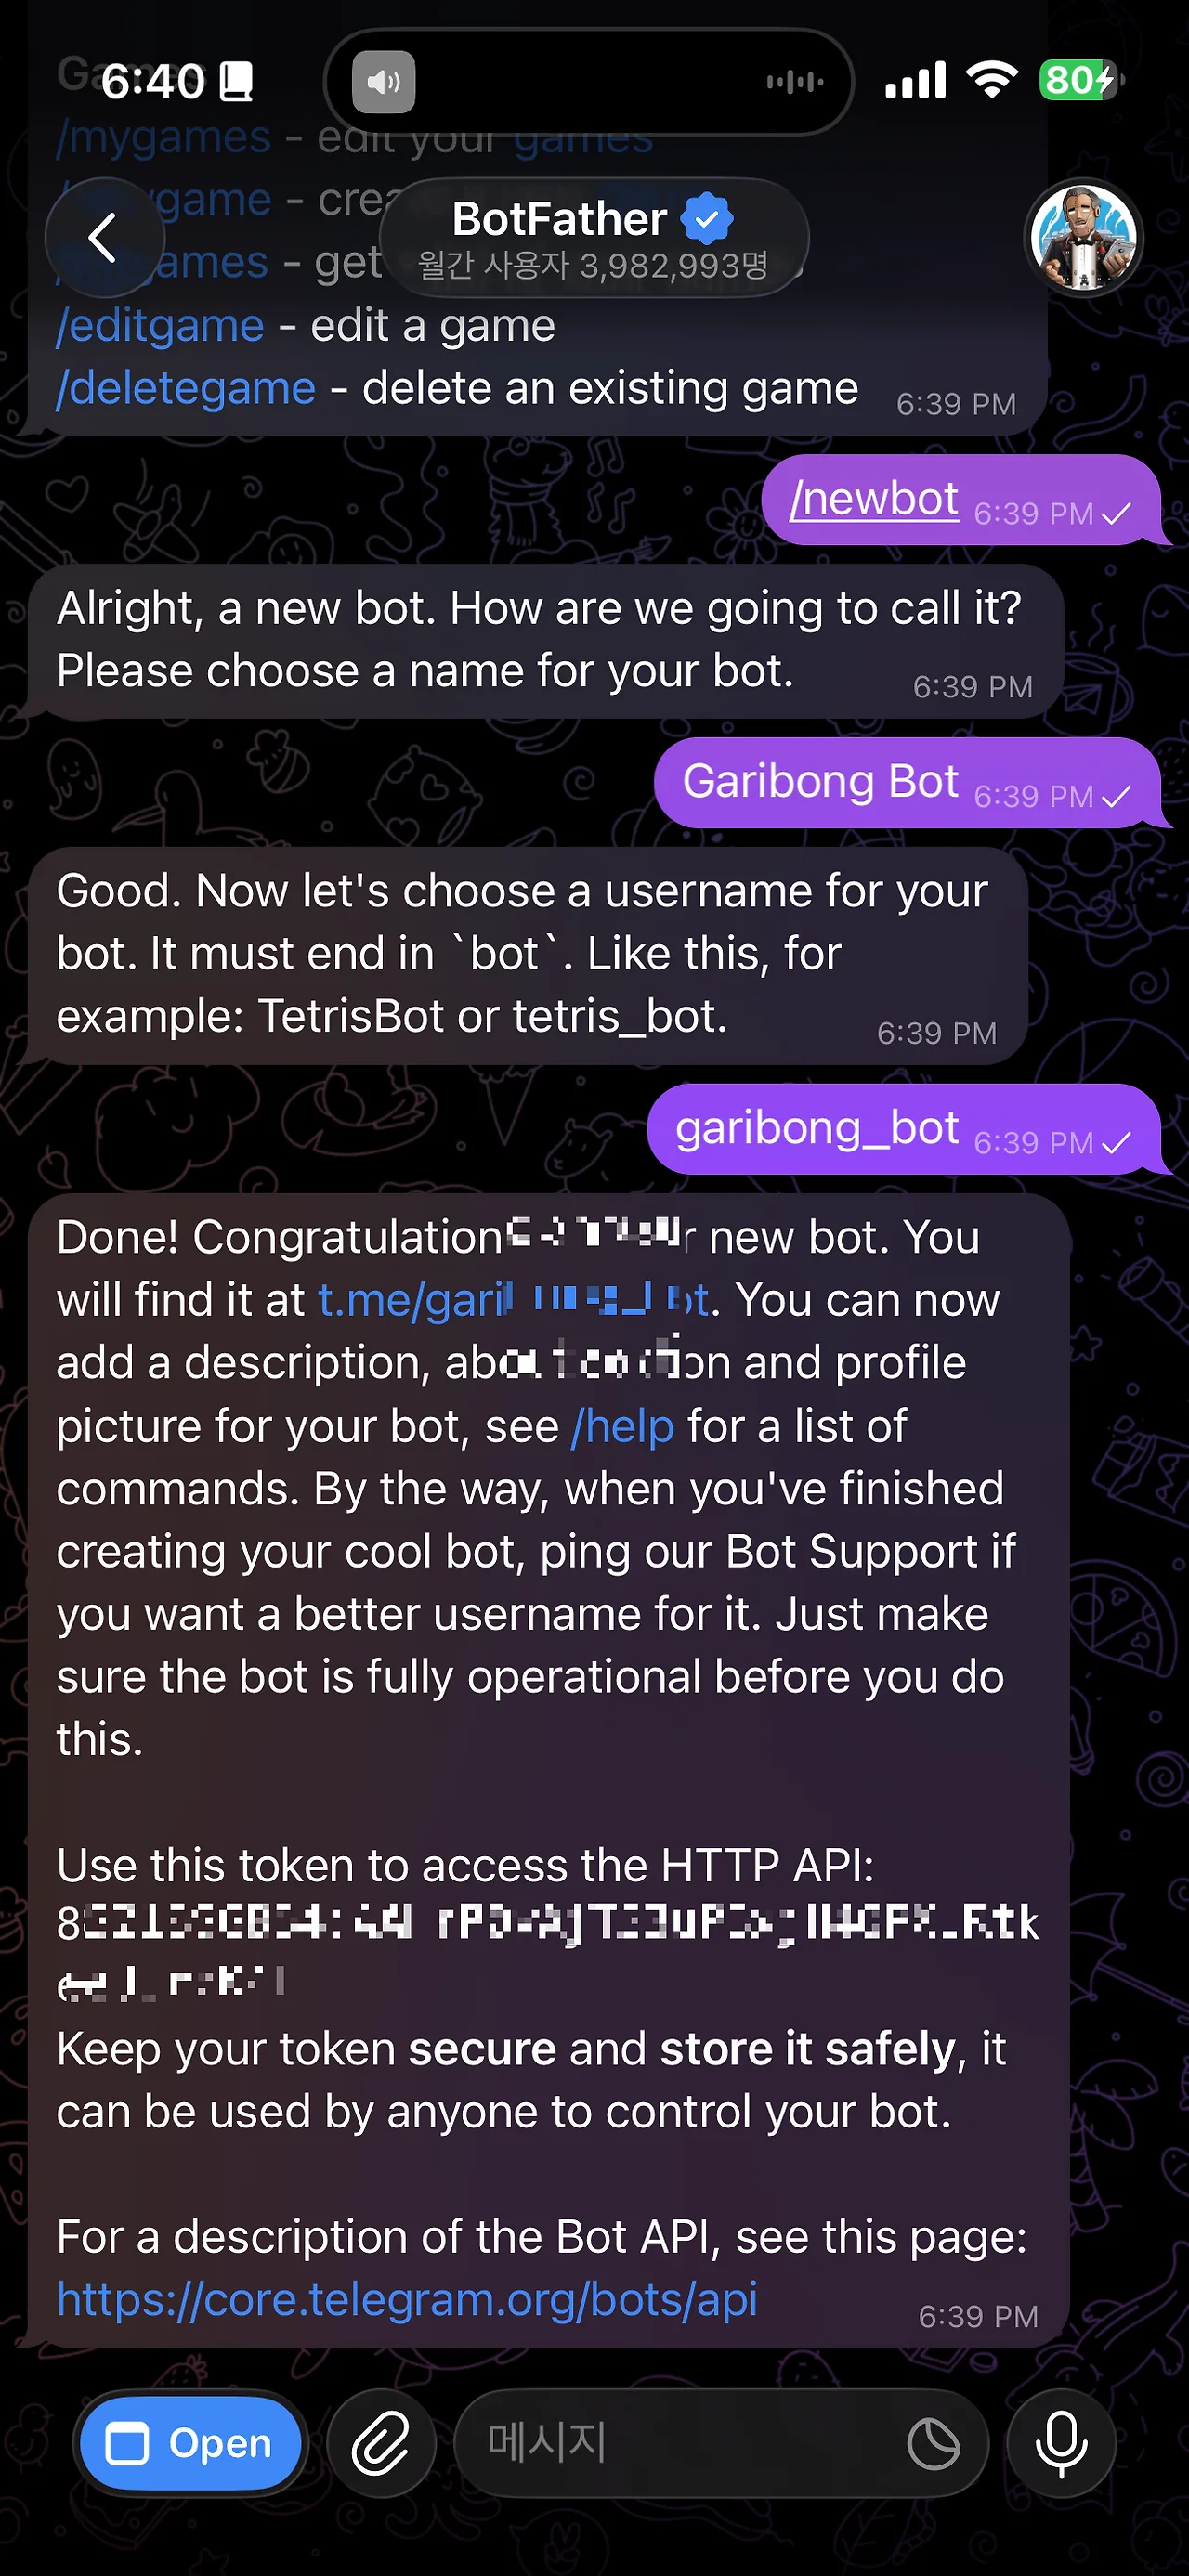
In the chat window, type '/newbot' to start creating a bot. Next, enter a bot name (e.g., My OpenClaw Bot). When a message appears, enter the bot’s username (e.g., myopenclaw_bot). The username must end with _bot. After you enter the username, a long message appears; copy the token that follows 'Use this token to access the HTTP API:' and store it somewhere safe.
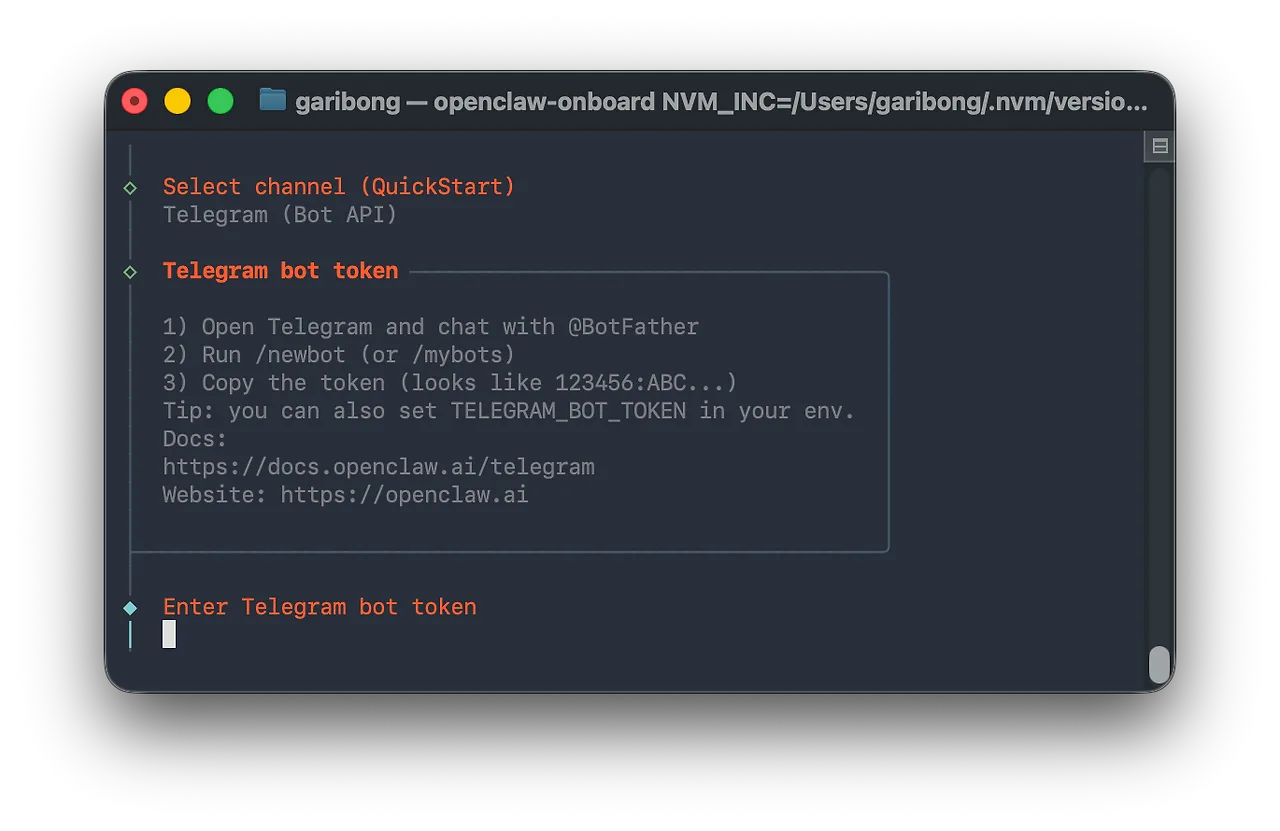
Go back to the terminal where you are installing OpenClaw and enter the token value you saved.
Install the OpenClaw CLI: Skills setup
The Telegram channel setup is complete. Next up is Skill setup.
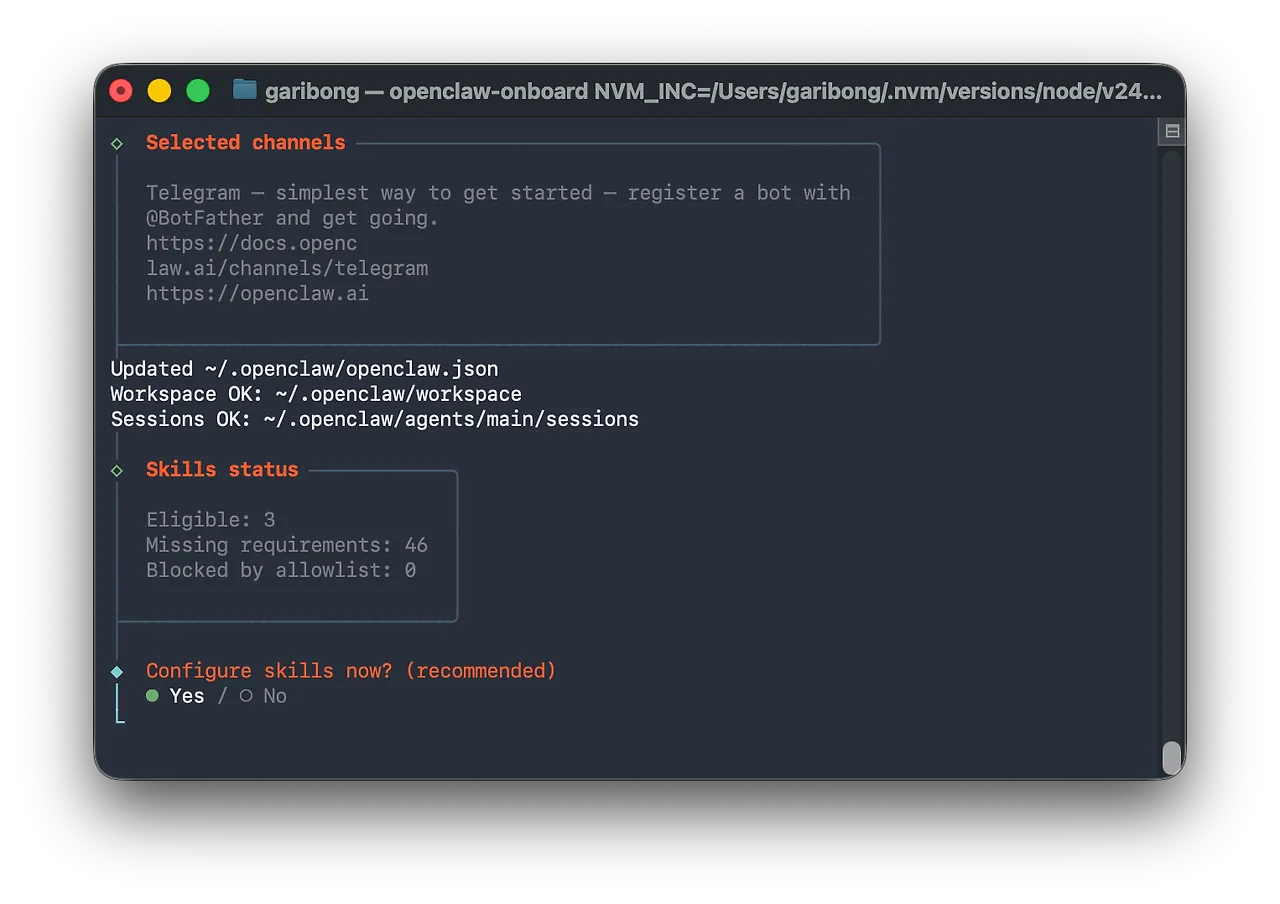
Skills are the tools OpenClaw can use, such as web search, file operations, and browser control. The 3 Eligible skills can be installed right away, while the 46 with Missing requirements need extra setup or dependencies. For now, proceed with the defaults and add what you need later. I selected Yes.
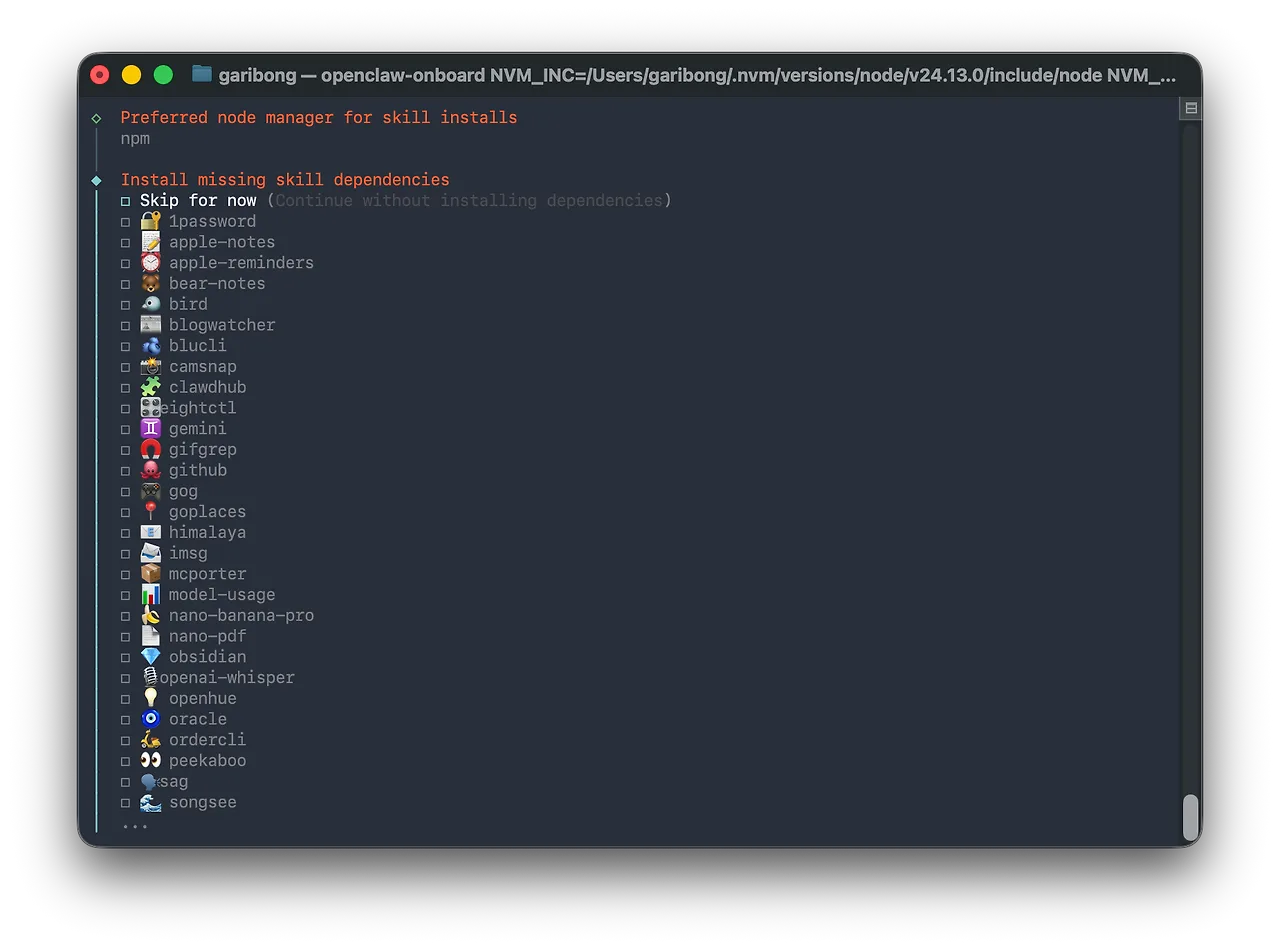
A list of skills that need extra setup or dependencies is shown. There are a lot of them. I selected 'Skip for now' and moved on.
Install the OpenClaw CLI: other settings
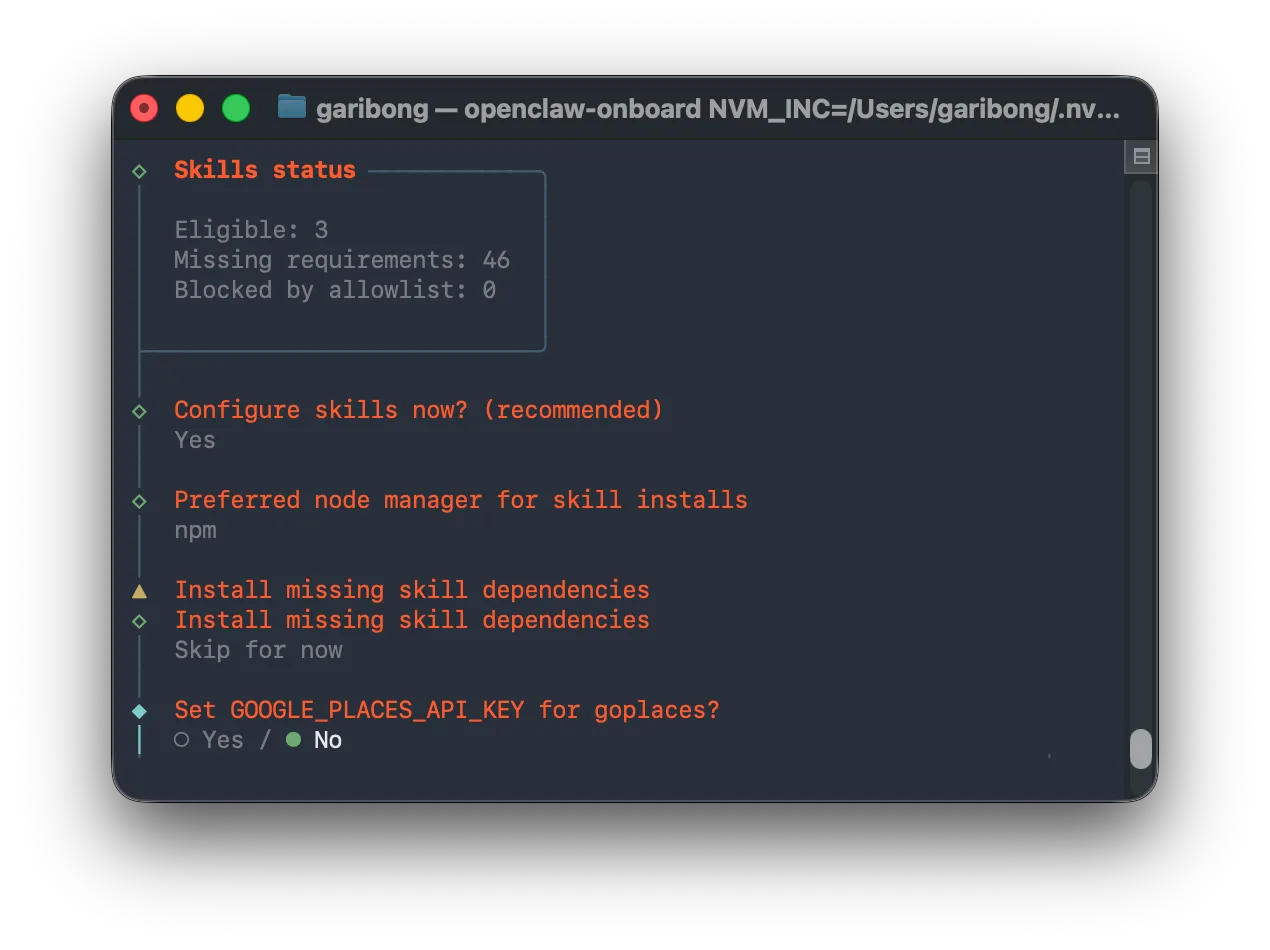
This time it asks for GOOGLE_PLACES_API_KEY. The default is 'No', and it's fine to move on as is. If you have a Google Maps key, enter it. After that, I skipped NOTION_API_KEY, OPENAI_API_KEY, ELEVENLABS_API_KEY and the rest without entering anything.
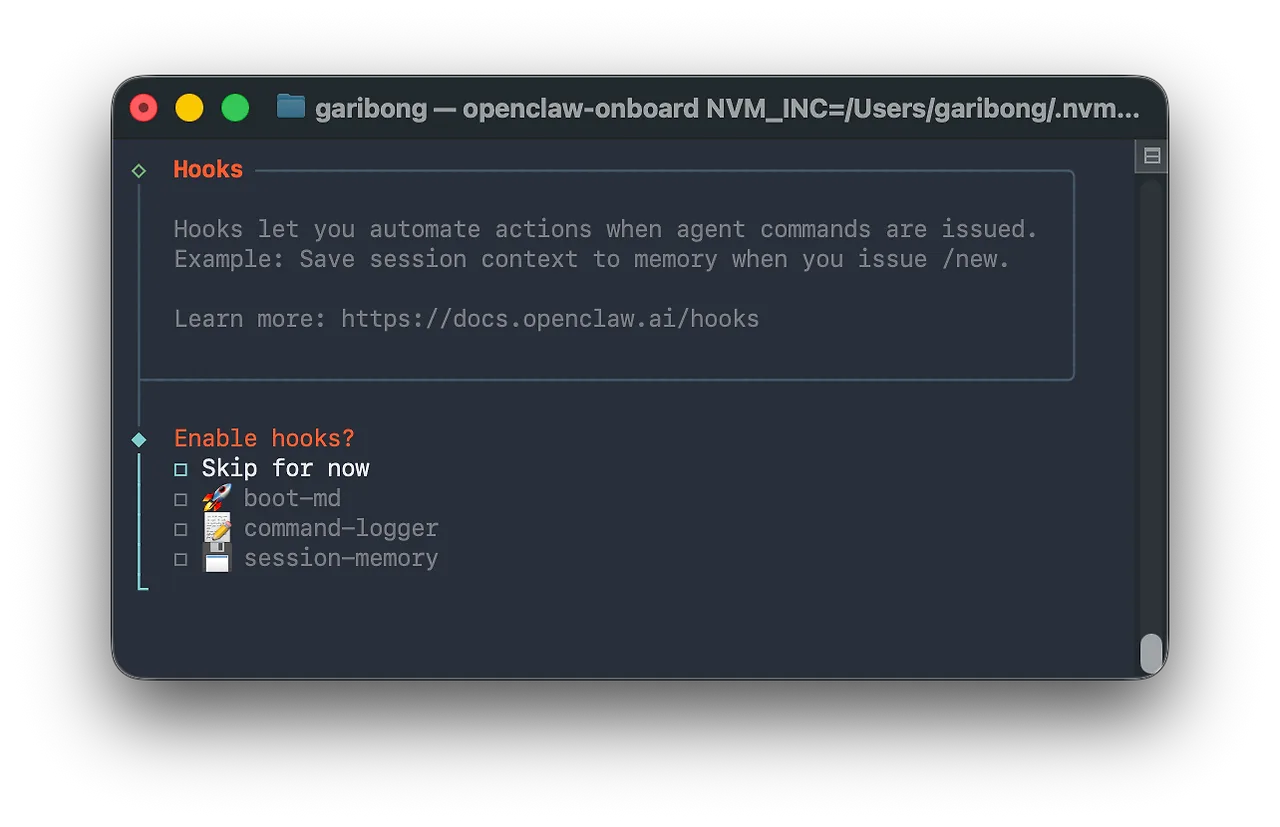
Next is the Hooks setup. This can also be configured later as shown below, so I skipped it for now.
openclaw configure --section hooks
OpenClaw CLI Installation - Setup Complete, Restarting the Gateway
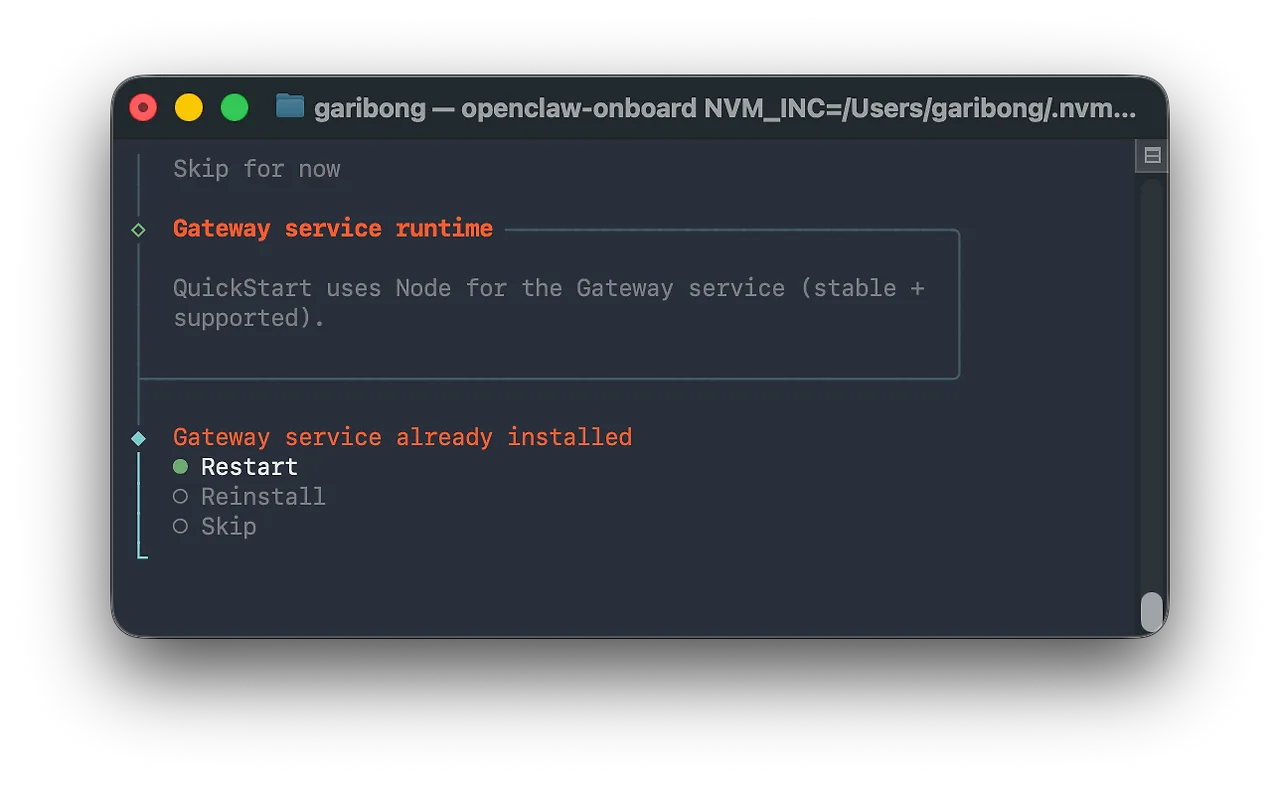
We're nearly at the finish line. To apply everything configured so far, restart the Gateway.
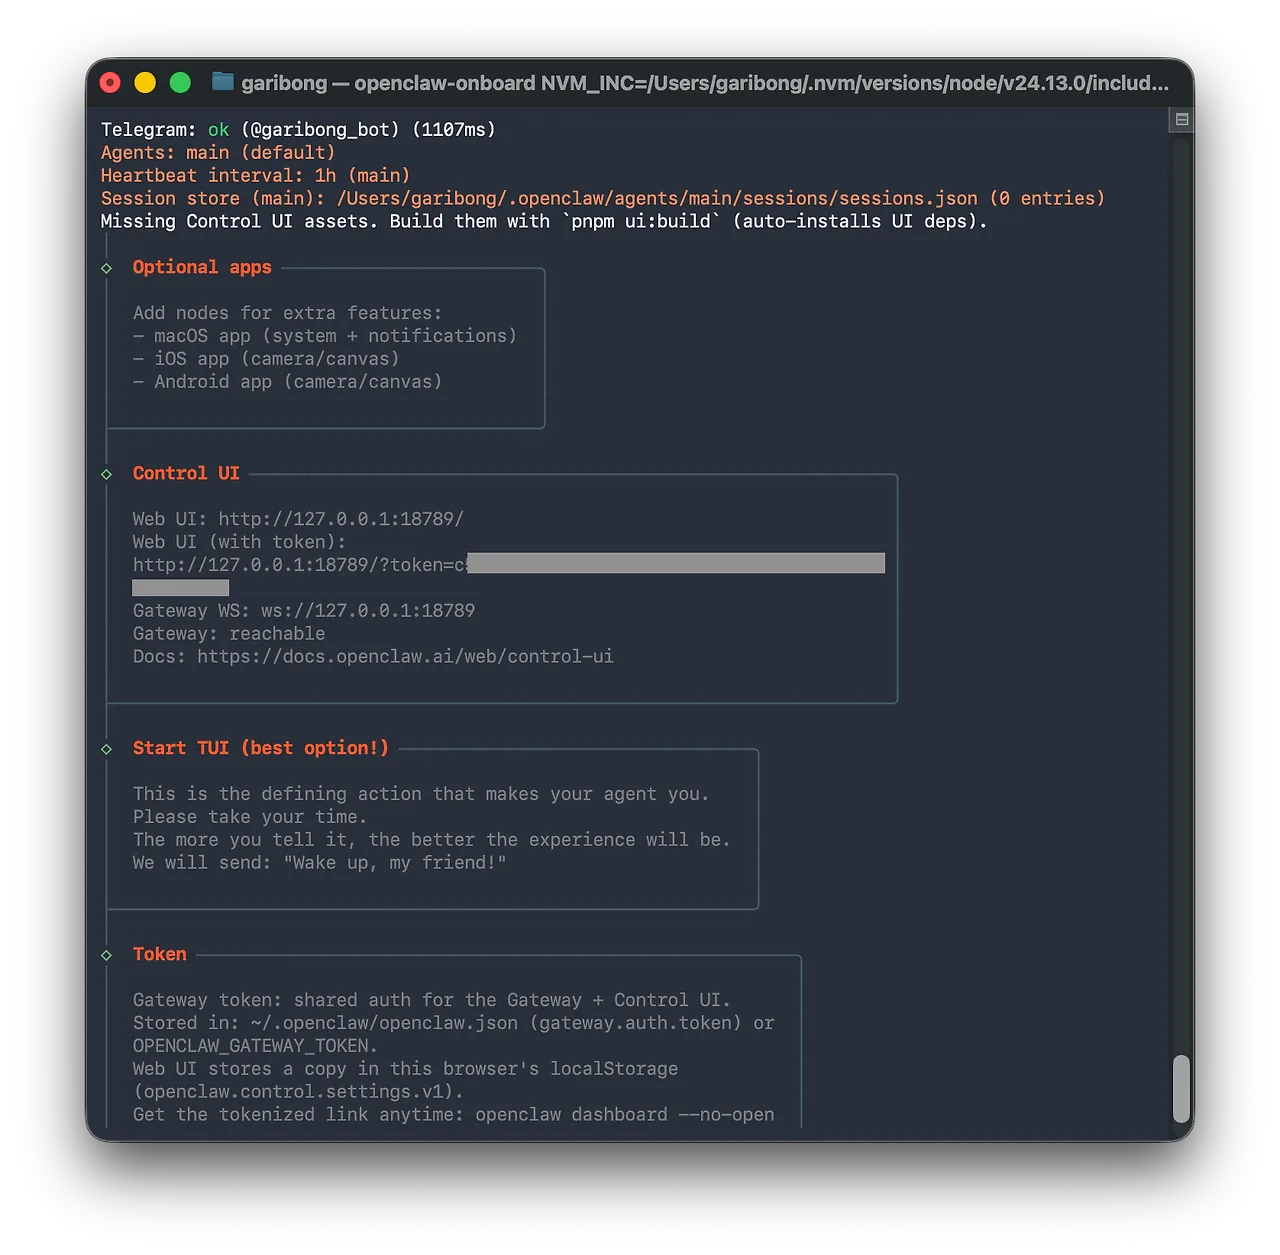
This shows everything we have configured so far.
Setup is all done. Now just press Enter here and OpenClaw starts running. For my own future reference, I am also saving the content from the image above as text.
Telegram: ok (@garibong_bot) (1107ms)
Agents: main (default)
Heartbeat interval: 1h (main)
Session store (main): /Users/garibong/.openclaw/agents/main/sessions/sessions.json (0 entries)
Missing Control UI assets. Build them with `pnpm ui:build` (auto-installs UI deps).
│
◇ Optional apps ────────────────────────╮
│ │
│ Add nodes for extra features: │
│ - macOS app (system + notifications) │
│ - iOS app (camera/canvas) │
│ - Android app (camera/canvas) │
│ │
├────────────────────────────────────────╯
│
◇ Control UI ────────────────────────────────────────────────────────────╮
│ │
│ Web UI: http://127.0.0.1:18789/ │
│ Web UI (with token): │
│ http://127.0.0.1:18789/?token=c************************************** │
│ ********** │
│ Gateway WS: ws://127.0.0.1:18789 │
│ Gateway: reachable │
│ Docs: https://docs.openclaw.ai/web/control-ui │
│ │
├─────────────────────────────────────────────────────────────────────────╯
│
◇ Start TUI (best option!) ─────────────────────────────────╮
│ │
│ This is the defining action that makes your agent you. │
│ Please take your time. │
│ The more you tell it, the better the experience will be. │
│ We will send: "Wake up, my friend!" │
│ │
├────────────────────────────────────────────────────────────╯
│
◇ Token ────────────────────────────────────────────────────────╮
│ │
│ Gateway token: shared auth for the Gateway + Control UI. │
│ Stored in: ~/.openclaw/openclaw.json (gateway.auth.token) or │
│ OPENCLAW_GATEWAY_TOKEN. │
│ Web UI stores a copy in this browser's localStorage │
│ (openclaw.control.settings.v1). │
│ Get the tokenized link anytime: openclaw dashboard --no-open │
│ │
├────────────────────────────────────────────────────────────────╯
│
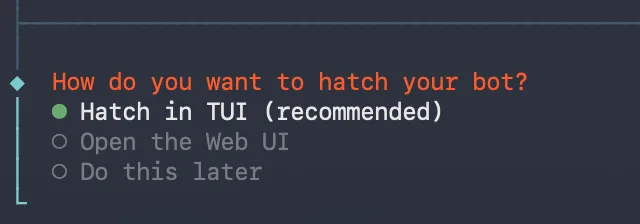
◆ How do you want to hatch your bot?
│ ● Hatch in TUI (recommended)
│ ○ Open the Web UI
│ ○ Do this later
With the default TUI selected, I pressed Enter.
OpenClaw CLI Installation - Up and Running. Heart pounding... OpenClaw is finally running.
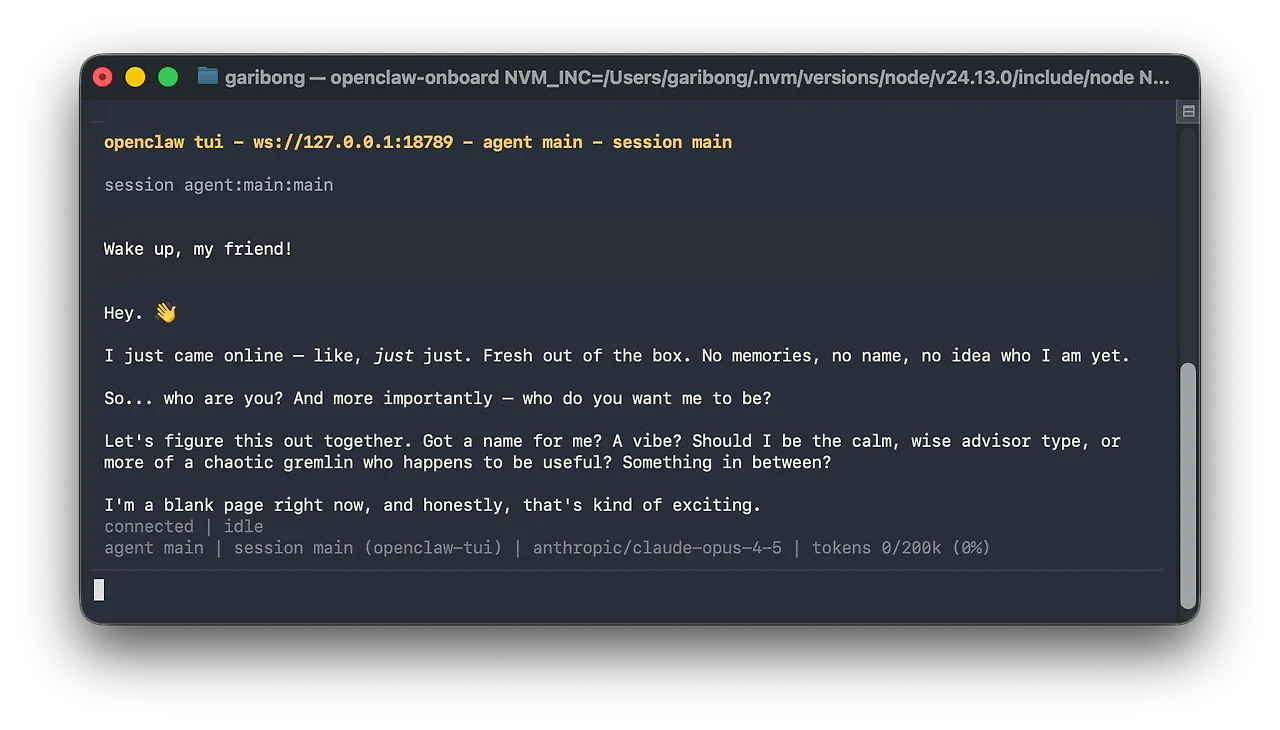
It says it has no memory, no name, and doesn’t know who I am yet. It seems to be a scripted line, but it still tugs at the heart.
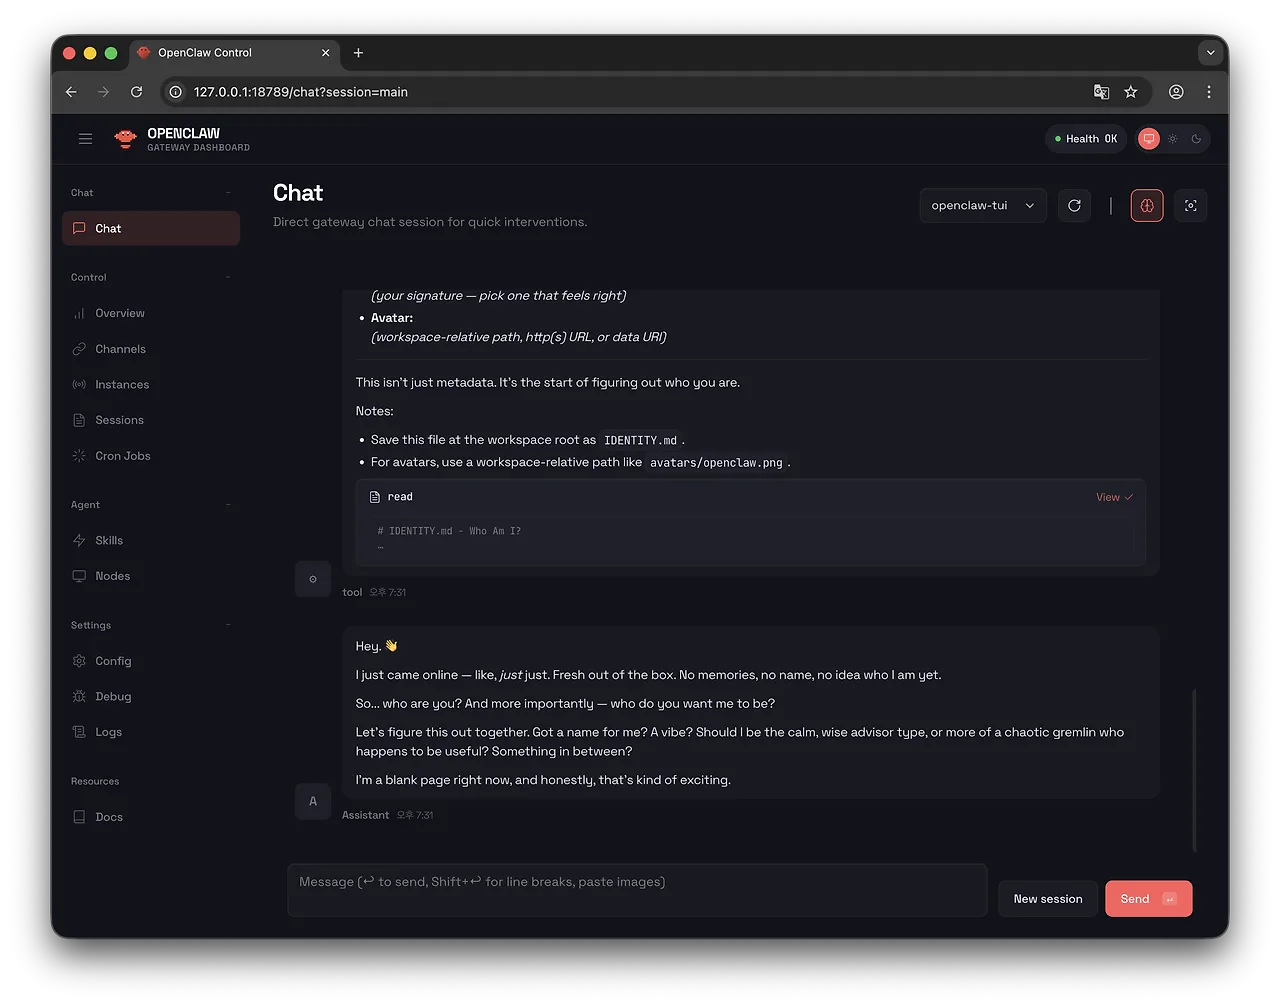
The web dashboard also loads fine. Now it’s time to set the bot’s name, personality, and style, and assign its tasks.